Soft Shading and General Methods
SETTING UP FOR COLOURS
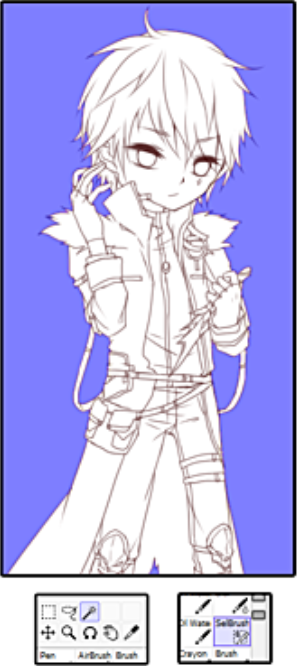
1. Use Magic Wand to select the area around the character and fill in gaps with the Select Brush (highlighted blue)
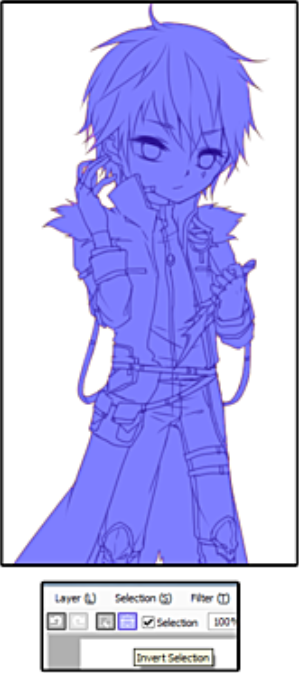
2. Invert the selection with the коп shown below
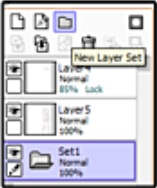
3. Make a new layer set under the line art by clicking the folder icon. This will hold all the colour layers.
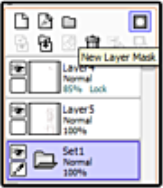
4. With the layer set selected, click the New Layer Mask icon shown below.
5. This created an area that is similar to the "lock opacity" effect but will apply it to the layers in the set.
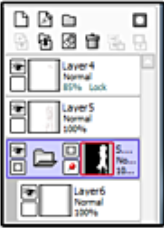
Anything drawn on the layers in the set will only appear on the white area of the mask (the selection made earlier)
I've made a new layer and dragged it into the set.
COLOURING AND SHADING
GENERAL TECHNIQUE
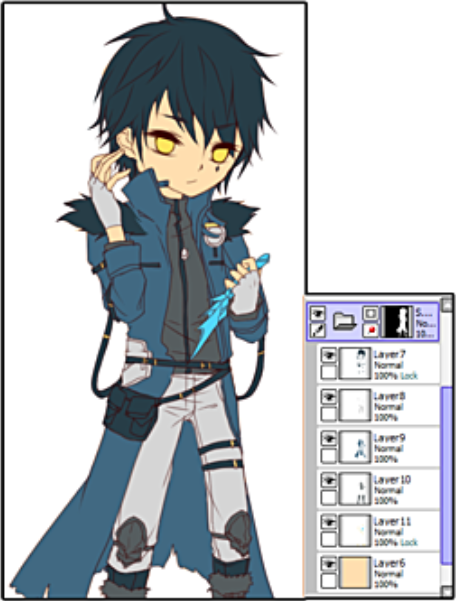
6. Lay down the flat colours on separate layers within the set.

7. Make a new layer above the base colours, and check the box that says Clipping Group. Now all changes to that layer will only affect the one it is clipped to.
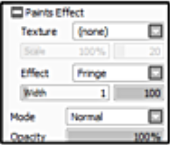
8. Under the Paints Effect dropdown box. select Fringe under the Effect menu. The fringe effect creates a darker edge, mimicking watercolours.
You can play with the width and opacity settings to get the effect you want.
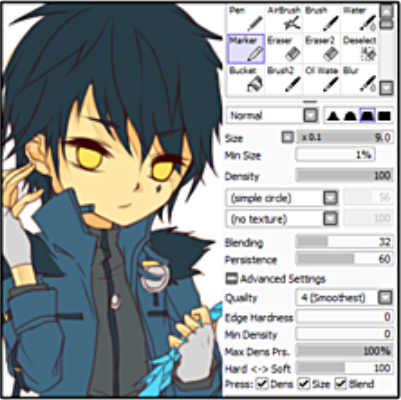
9. Start to add shadows with a darker colour.
I use the marker brush to do this with these settings.
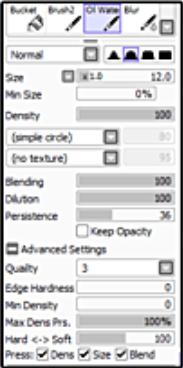
10. Then blend away harsh edges with the oil water tool. My settings are below.
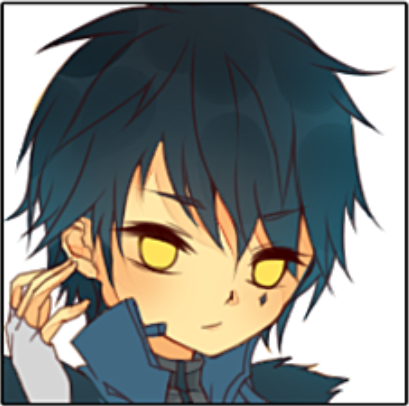
11. To finish off the skin, I airbrushed in some colour on his cheeks.
CLOTHES
12. Started with a subtle gradient to add a bit of variety.
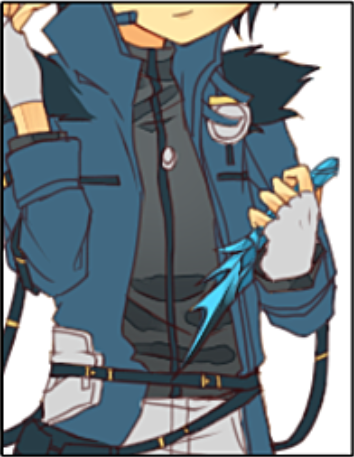
13. Using the Marker tool (settings above) put in some messy shadows on a fringe layer set to multiply.
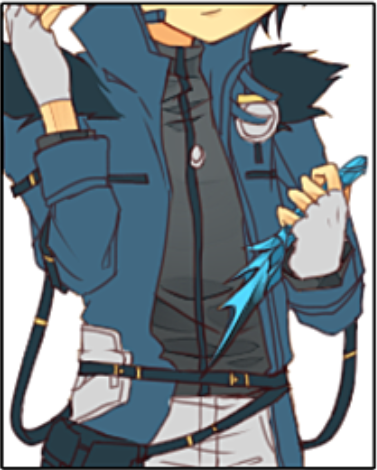
14. Smooth with Oil Water and refine with eraser.
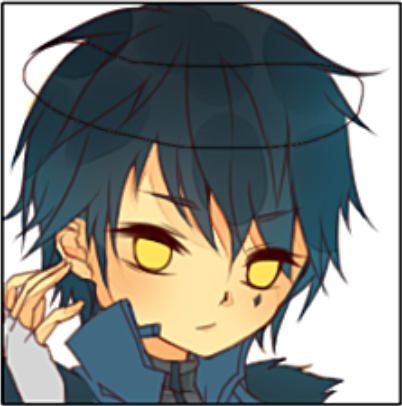
HAIR
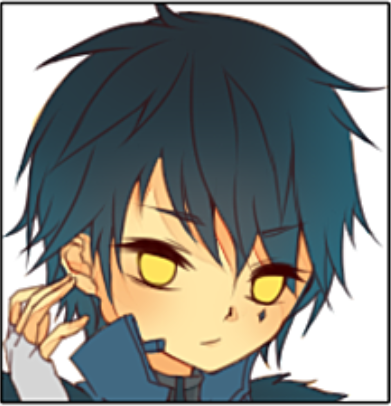
15. Start with the gradient again. This particular character had blue tinted hair.
16. Using a large Water brush, put in initial shadows to highlight the reflections. This was on a multiply layer with fringe again.
17. Smooth out to fade the unwanted areas. This layer should not be very dark.
18. On a new layer above the others, use the marker tool with a darker colour to create deeper shadows.
19. Smooth out the edges with the Water tool and then adjust the hues until satisfied.
It was looking too green so I used a deep blue.
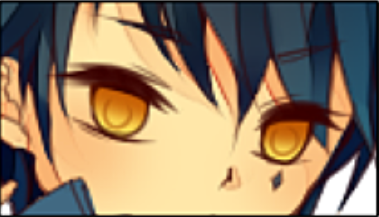
EYES
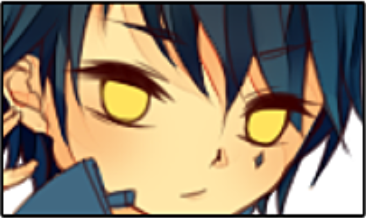
20. Base colour.
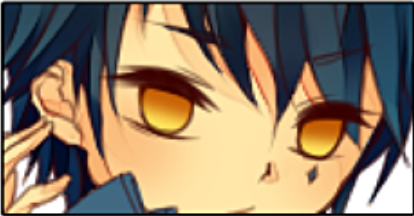
21. Gradient applied to upper part.
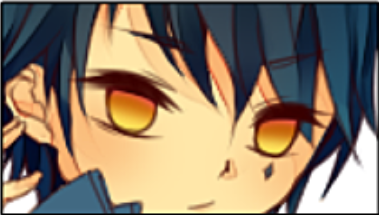
22. Create a luminosity layer and highlight the upper edge with a pop of colour.
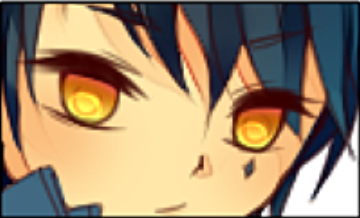
23. On the same layer add a circle with a light colour.
24. With the Oil Water, smooth out the bottom to leave the circle with a darker center.
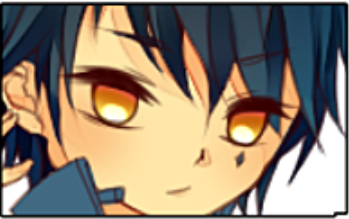
25. On the normal layer add a circle in the colour of the top shade.
26. It’ll look like this with the luminosity layer back.
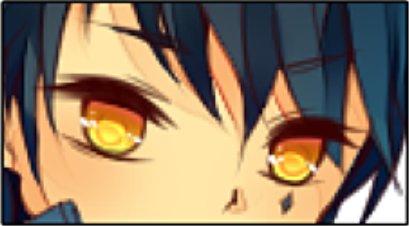
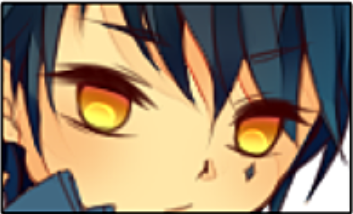
27. Add reflections with pure white.
FINAL TOUCHES
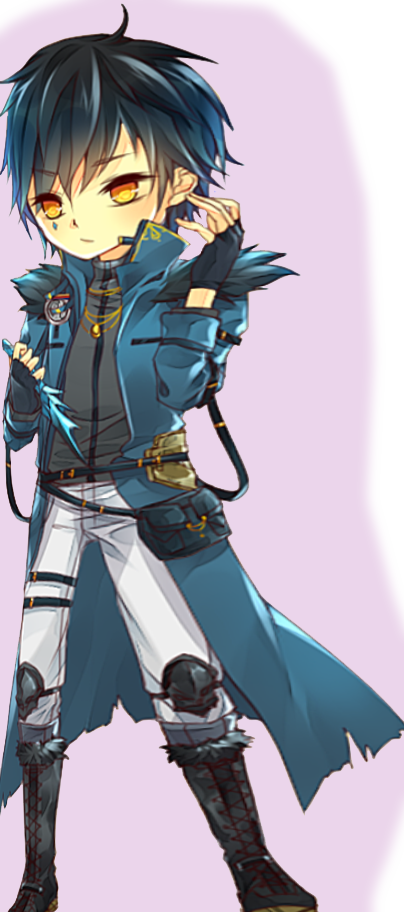
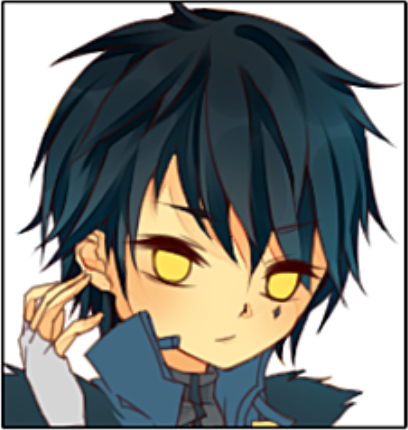
To finish up, I make a layer above the layer set and use a luminosity layer to add final highlights. It's done with the same technique - use the Marker brush and then soften with Oil Water.
Some examples where I used this are the hair highlights, backlight of the fur and all over the edges of the coat, etc.
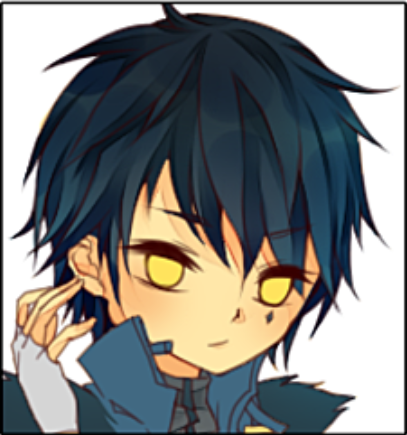
TIP: If your art looks too dark or harsh, merge everything and bring it to photoshop. Duplicate the layer, put a gaussian blur (1-3 px) and set the duplicated layer mode to hard light. Reduce the opacity and fill to about 40-50% each.
Thanks for reading!