Shading Methods
*** Part 1 ***
Hello! And welcome! In this tutorial, I'll be going over the few methods I use to go about shading my Pictures. Please keep in mind that the methods listed here are only a small, small handful of methods you could use to shade your work. Try these if you like, but always be sure to find a method that works for you!
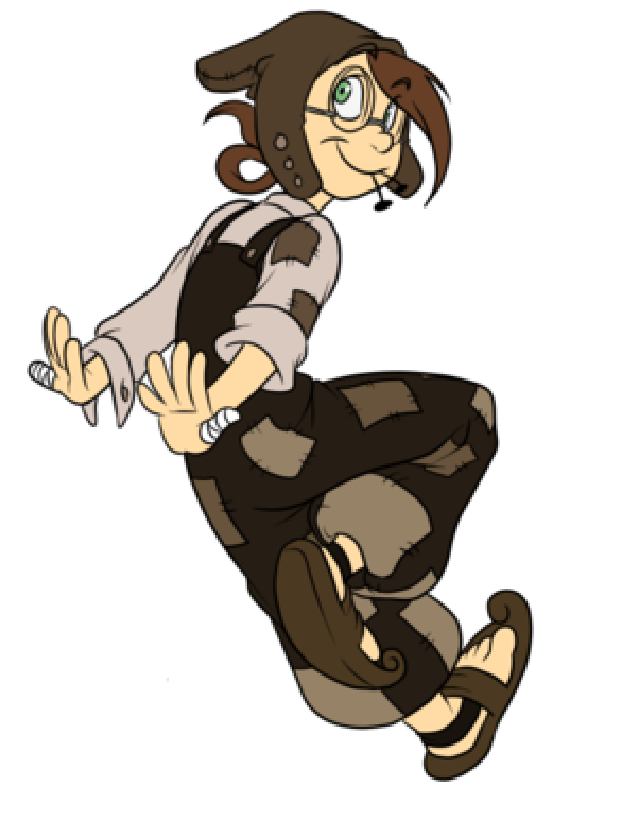
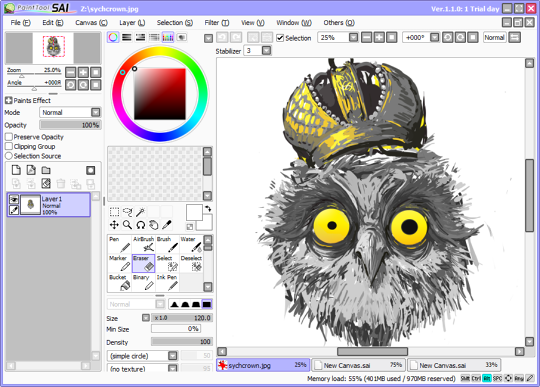
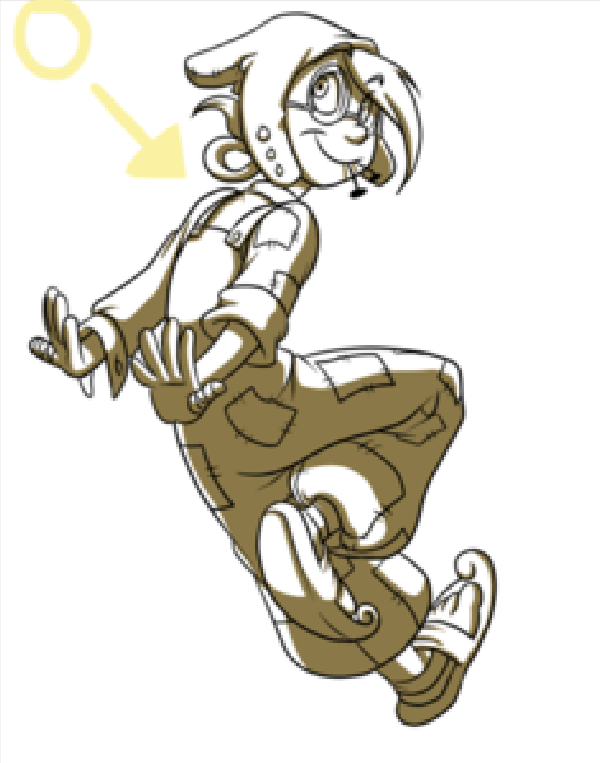
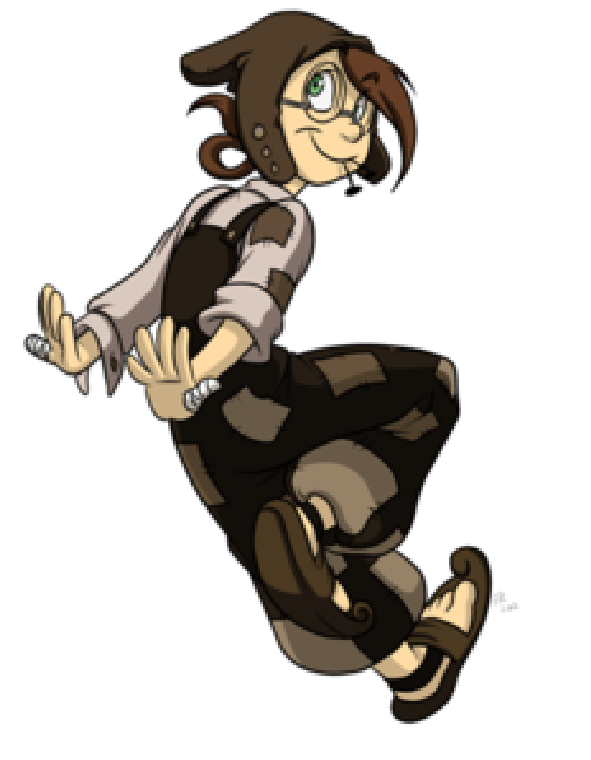
Today, we'll be working with the image above. Ail the lines have been done in SAI using an lntuos pen tablet and base colours have been laid down using the method described in my other tutorial, Colouring with the Fill Bucket. Please see the description for a link.
Now, for this Picture, I’ll be using the colour Pictured to the right. Some have asked what colour I used to shade. For me, it depends on the Picture and how I want the shading to feel.
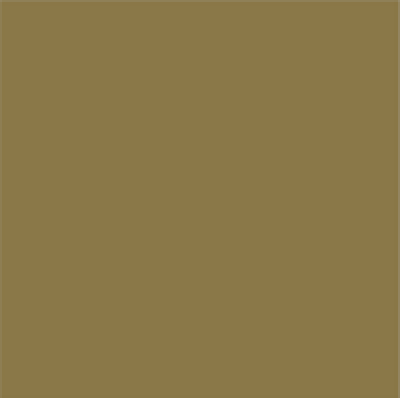
You can basically use any colour, really. Just check and see how it feels. Your warmer colours - red, yellow and orange, make the shading warmer. The cooler colours - blue, green and purple, of course, make the shading cooler.
For example, al the samples below have different shadows, from a red-based grey to a purple-based grey. I tend to keep the colours used for shading on the lower saturation levels.

I personally usually use a shade of blue-based grey. I've read somewhere before that shadows in real life are blue-based.
Black and white shadows don't hurt, but shadows aren't really that colour, but hey. as I've said, do what works for you. Of course, you can always experiment if you'd like to.
As with lighting, the shading (which are a result of the lighting) are dependent on the mood and feeling you want for your image.
Method 1: Cell Shading
First, well look at cell shading. This is my usual method, because if s fast and relatively easy, especially if you have some idea how shadows work. We'll be using a mask for the shading layer here (as well as the other two methods).
For my tutorial on masking, see the link below in the description.
As for any shading, you want to establish a light source. Mine for this picture is the fop left corner. You need to keep you light source in mind, as where this is Placed affect how forms will cast shadows.
Being as this isn't really a lighting tutorial,
I won't go into major major major detail.
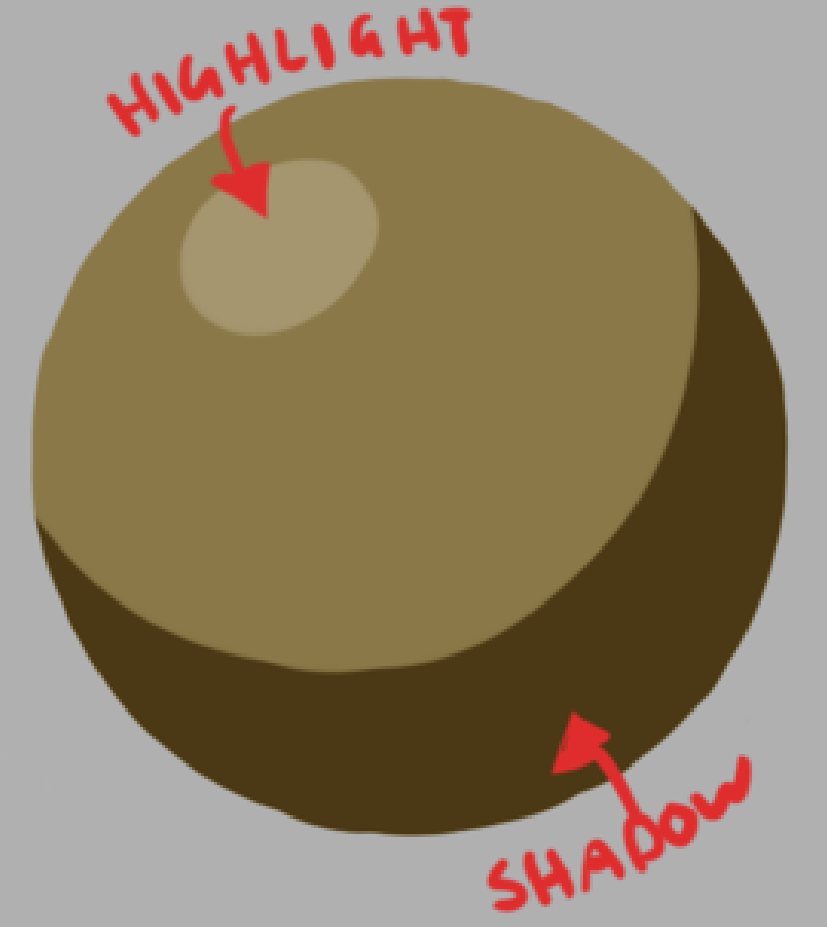
What I would suggest you do is keep in mind the human body is a rounded surface. Think of a lighted ball when shading and think how the light bends around that.
Like this ⟶ ⟶ ⟶ ⟶
I'm not going into great detail on really how to create this type of shading layer. The Shading with Masks tutorial basically covered how to make a shadow layer like this.
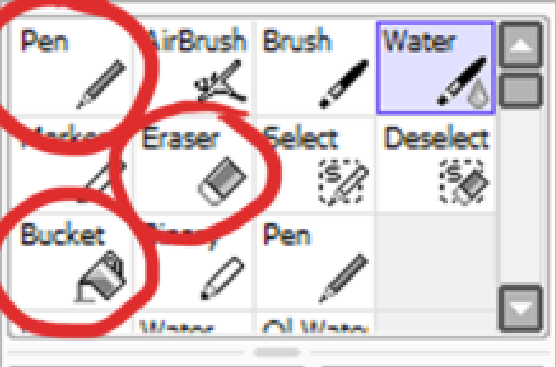
The only tools that I use in this section is the Pen tool, Eraser and occasionally the Fill Bucket.
The upside to using a mask for you shadow layer is this: You can create a "shadow shape" that flows and extends smoothly info all areas affected. If you fried to shade on each individual colour layer using a method like Locked Opacity Shading, you’re shadow lines would probably not match up - unless you used the Selection Lasso to establish a boundry.

⟵ ⟵ ⟵ ⟵ Of course, after you've established a layer like this one, where the shadows are all one colour, there is an option you can take if you want to designate the shadow colours yourself.
If you have the shadow layer's opacity locked and the lineart layer and Fill Bucket set to Selection Source, you can change the colours in each individual area. That’s what has been done with this layer here.
This allows you to set your own shadow colours instead of having the Multiply property determine them for you. Here, you don't even have to switch the layer's property to Multiply. ⟶ ⟶ ⟶ ⟶
However, if you do use just use the single colour shadow layer, you do have to Multiply that layer. If not, the shadow colour will just sit on top of the base colours below it.
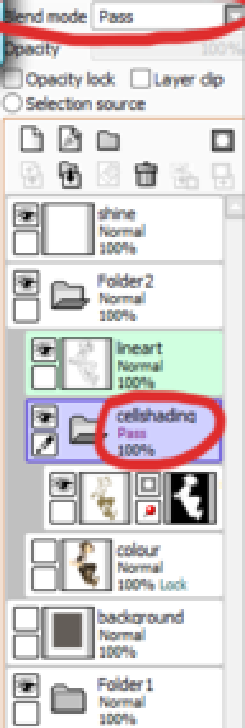
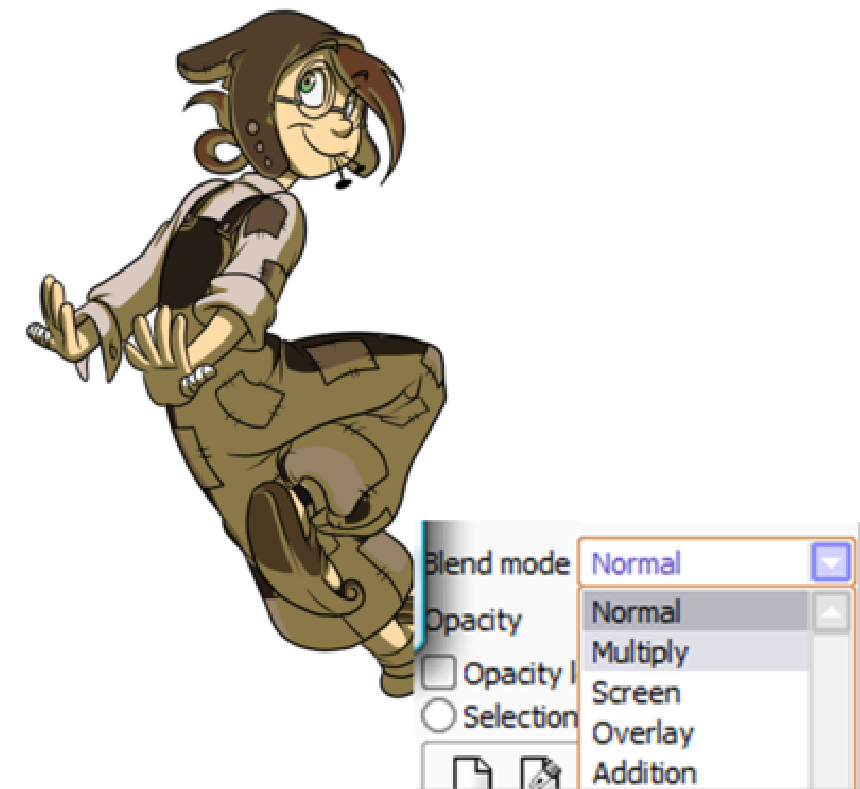
To fix this, just gо up to the box above the layer's Opactiy, to the Blend mode box and choose Multiply from the drop down menu.
The other options found here are different modes, of course, but I'm not exact on their actual functions. I usually just Play with them - trial and error really - to see what looks decent if I do happen to use them (which isn't often).
Anyway, after you change that, the shadow layer will basically darken the areas below it. It no longer covers up your base colours underneath and creats a nice, clean shadow layer.
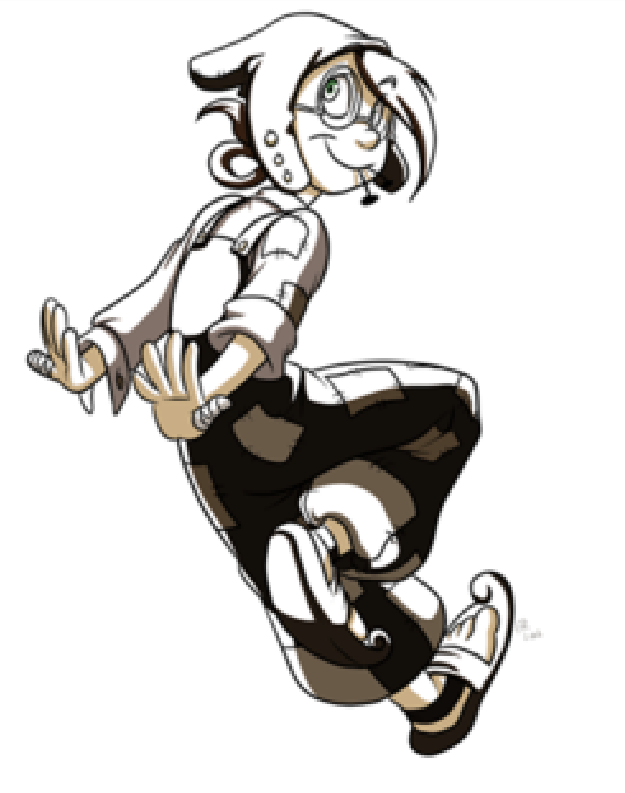
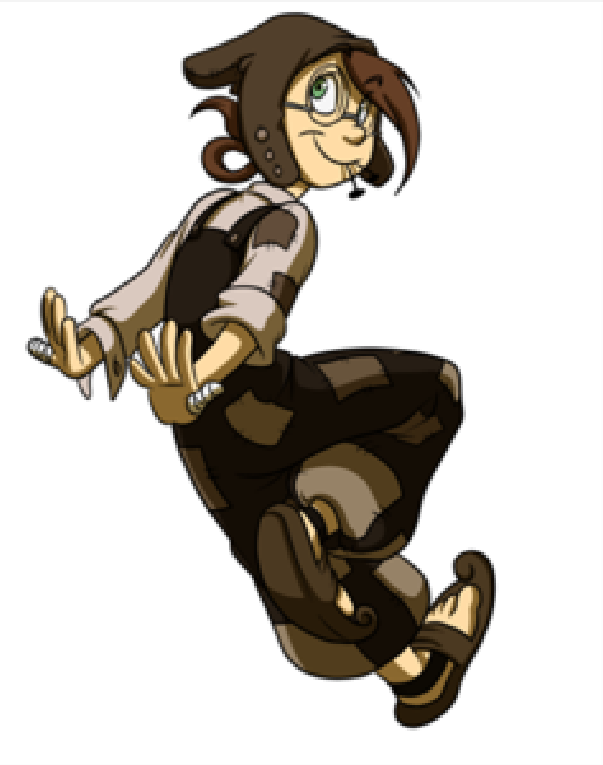
Also, if you were curious, let's look at the difference between the two different layers I did for the shadows. On the left, is the version with the single colour shadow layer, Multiplied over the base colours. On the right, is the version with the shadow layer's single colour changed to my own designated shadow colours, with no Multiply property turned on.
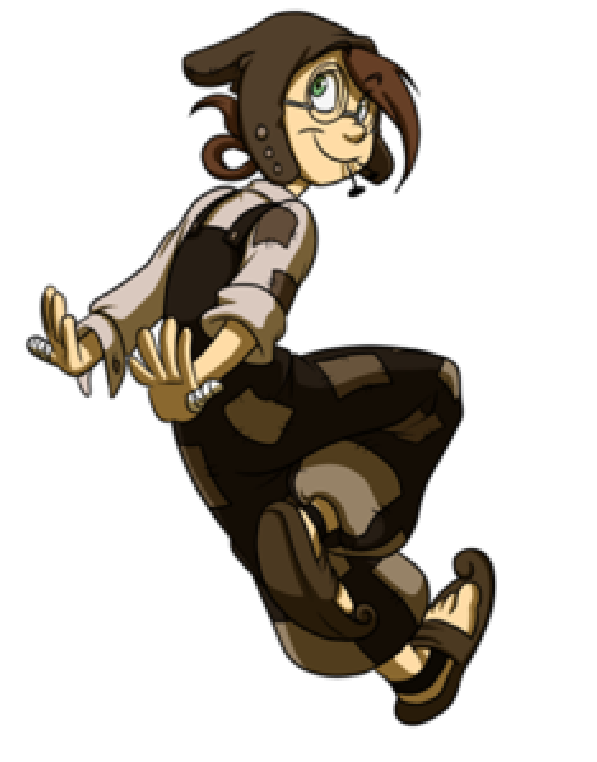
Some subtle differences are noted here. The main one is that the colours on the right are a tad softer and may even fit the image more. You can feel the more yellow/brown based shadows of the single colour shadow layer on the one to the left.
Again, if s all a matter of what works for you.
Now, one quick thing before we move on to another method. For this image, I separated things using folders. If you have your shadow layer in a folder, away from your based colours, the Multiply property on that layer will be ignored. To fix this, you can either turn off Multiply on that layer and turn it on the Folder. However, you can also turn the Folder’s property in Blend mode to Pass. If this is set, any Blend modes you have in effect on ANY layer should still affect the layers below if, as if they weren't in the Folder.