COLOURING USING - THE FILL BUCKET
*** Part 1 ***
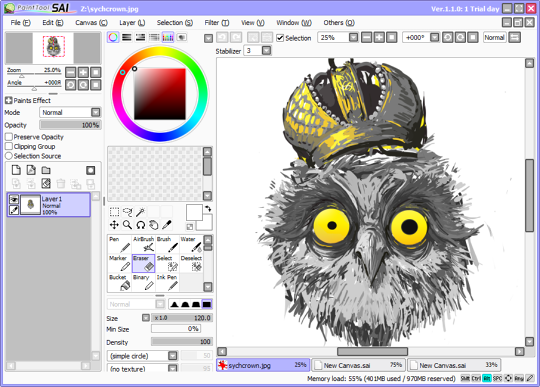
Welcome! Today, we’ll be going over some things in Paint Tool SAI. A few people of asked, so here we go!
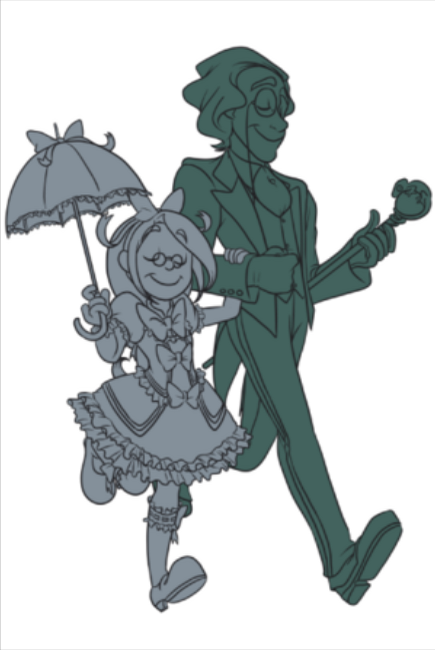
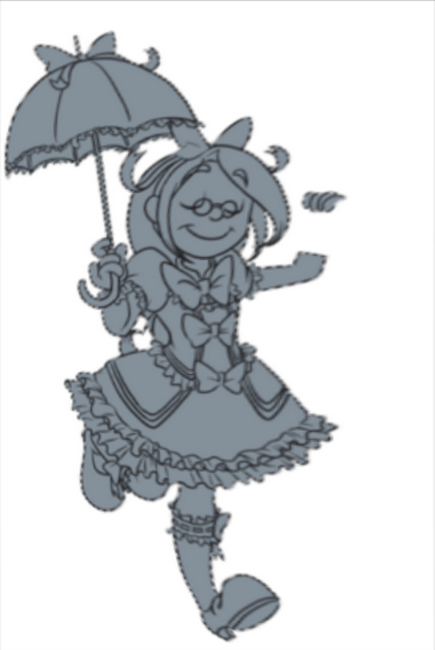
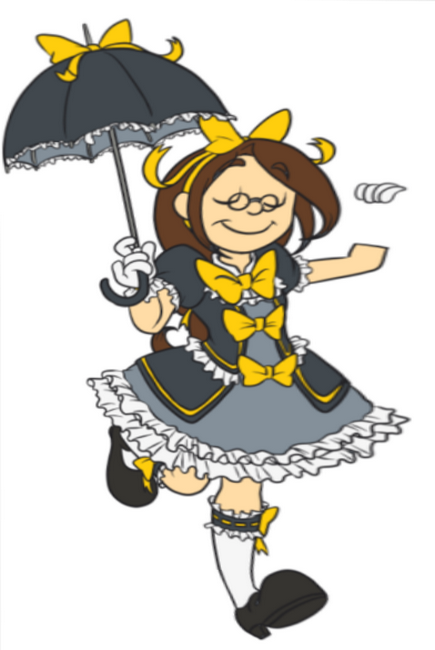
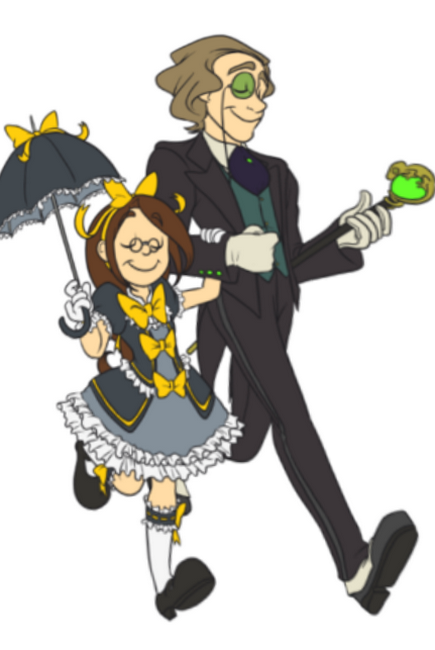
We’ll be working with Veronica and Ferdinand today and will be covering how to do base colours with the Fill Bucket tool.
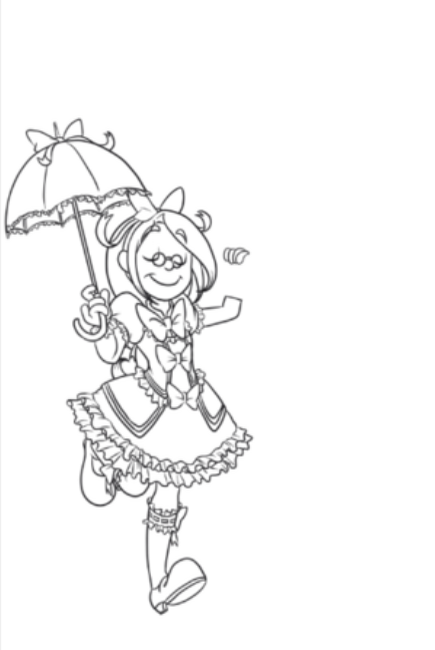
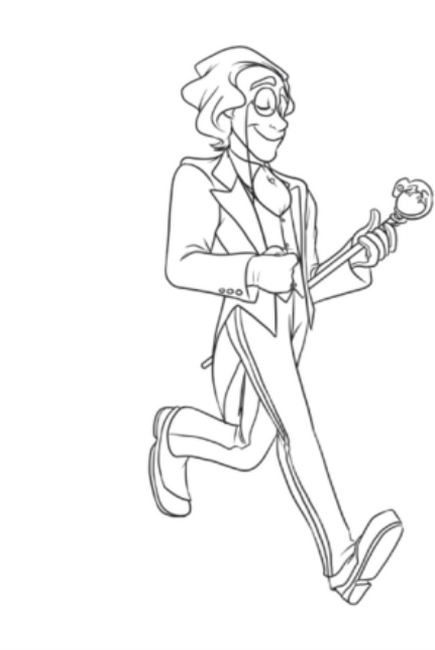
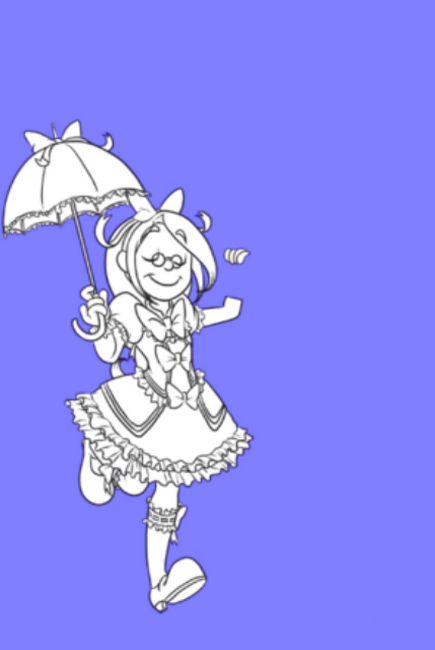
As you can see here, I already have my lineart. Due to how I generally do my lines (many many layers), I have separate layers for Veronica and Ferdinand. We'll be focusing on Veronica for this tutorial as well as the next.
You don't have to have separate layers for your characters, but sometimes, but super busy and populated compositions, it helps.
Now, first thing I like to do is establish a base layer for the base colour. This helps fill up white areas in tight corners.
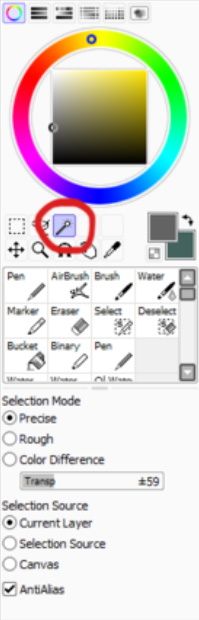
Start by selecting the Magic Wand tool, here.
Click on the area around your lineart. The selected area wil turn blue, like this. On SAI, when you're in «select mode», selected areas will appear blue.
Select Mode is usually when you have any of the selection fools in use, including the Magic Wand and Selection/Deselection Brushes.
When doing this part, don't forget the small areas. With Veronica, we have to remember the areas between her hair clusteres or her back and arm.
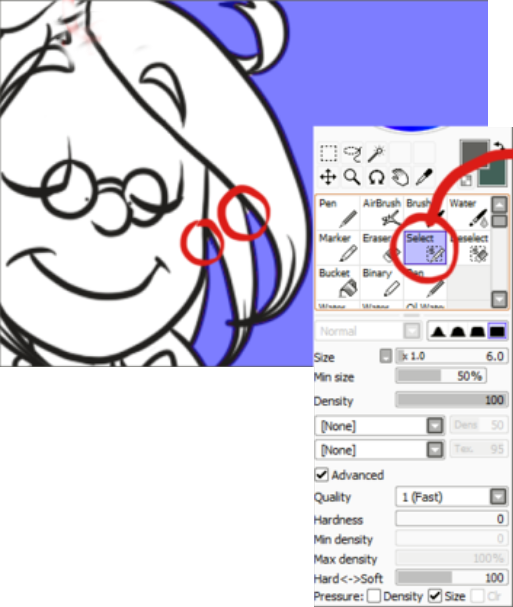
For those small areas on the outside that the Selection Wand may have missed, we can use the Selection Brush.
It works just like the Pen Tool and you can “draw” areas you want selected. These areas will also turn blue.
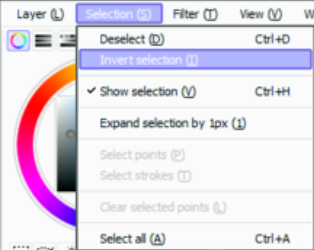
When you’re done, invert your selection.
This is done by going up to the Tool-bars, selecting Selection and going down to Invert Selection.
You may also have noticed that the blue areas have turned to 'marching ants'. This is normal when you're not using the Selection Tools.
With the inside of the lineart selected, make a new layer. This has to 20 under your lineart.
Using the Fill Bucket, fill in this area. This is the base layer for your colour and where we will be working for the next few steps. I would lock this layer, too.
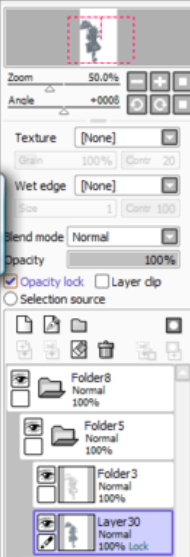
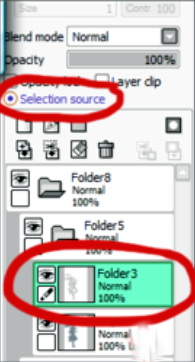
Next, go to your lineart layer (apologies for not naming mine here). Up under Opacity Lock, there is a thing called Selection Source. You want to click the bubble next to it.
This will turn the layer’s box an aqua colour, meaning this layer is the Selection Source.
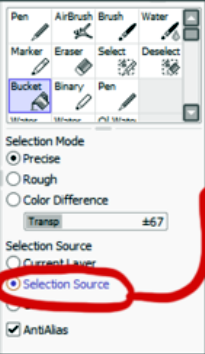
⟵ ⟵ ⟵ ⟵ Before (explain what this means, go to the Fill Bucket tool. You'll see in the tool's options, there is a Selection Souce line here too. Click the bubble next to it.
Now - Selection Source. What this basically means, when both of these selected, the Fill Bucket will only fill in areas based off what the Selection Source is. This is the basis behind this entire tutorial.
Thanks to this, if l click on in an area with the Fill Bucket fool on the base colour layer, it will only fill that section.
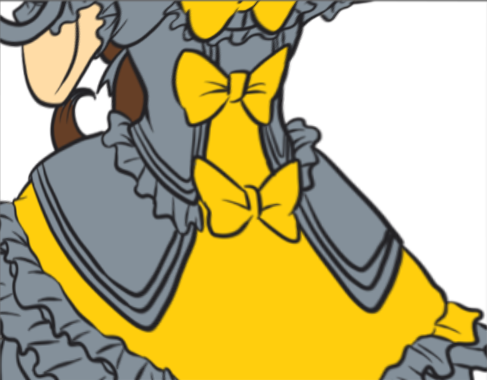
So, all you have to do is fill in the other areas - all the colours can be Put on the same layer.
In the end, you should end up with a clean base colour layer like this.
Of course, you might have a few issues when colouring like this.

One issue you may have is bleeding. If the lines aren't fully connected, colours will fil info areas you don't want them to go. So, make sure you're lines are nice and complete.
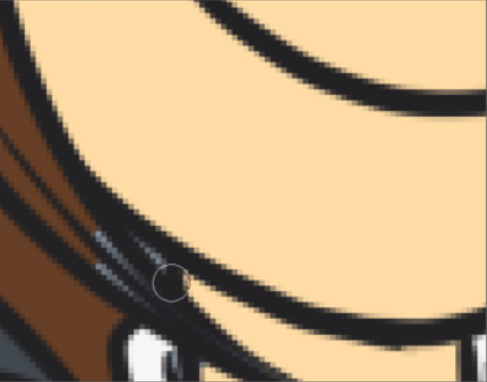
Another problem you'll most likely run into is the teeny- tiny areas, like here. You can always raise the Fill Bucket's threshold, but that's always iffy. It's easier just to go in with the Pen Tool.
With that in mind, just finish up with whatever else you have to colour. Once that's done, then we can move onto Part 2 - Shading with Masks.