Shading Using Masks
*** Part 2 ***
Welcome to more Tips and Tricks in Paint Tool SAI!
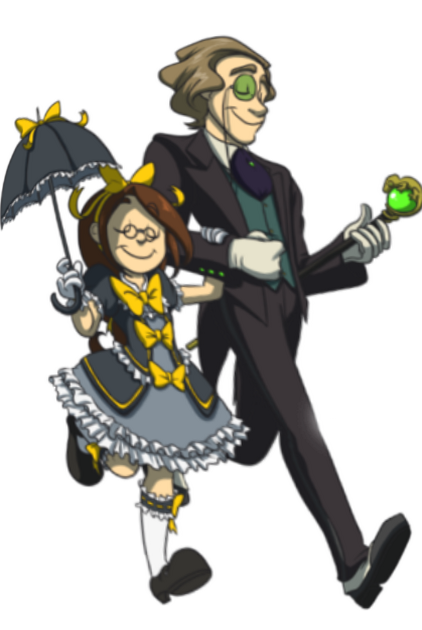
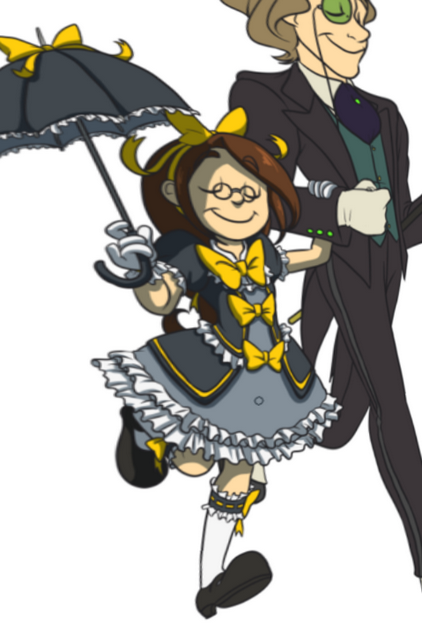
Continuing on from Part 1 (see the link in the Description section), we'll be working with Veronica and Ferdinand here again.
Now that we have our colour layers set up, we now get to make a Mask layer for shading. I'd be cell shading on this picture, using the Multiply property.

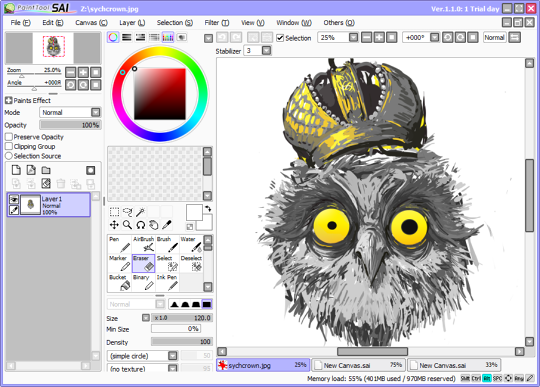
First off, make a new layer. This should go between your Lineart layer and Colour layer.
Now this next part might come off a bit tricky, but it's simple.
While you still have your blank Shading layer as your active layer, Ctrl click the image of your colour layer.
If done correctly, the marching ants should appear around the area that is your colour layer.
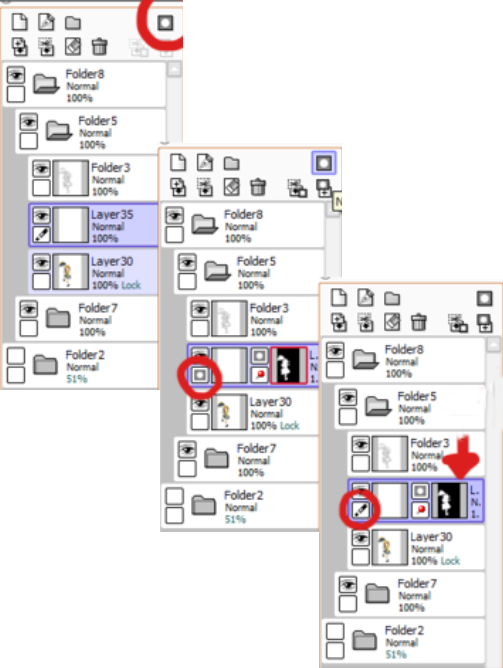
Once you have that selected, you'll want to click the symbol that looks like a grey box with a white circle in it. This is the Mask button.
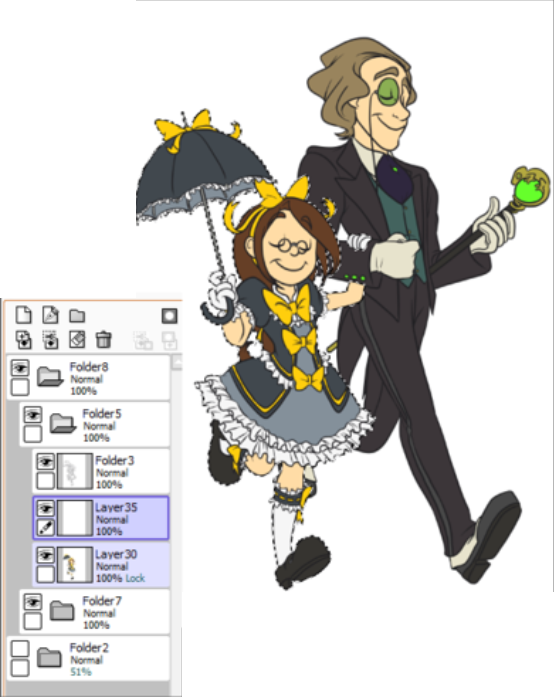
Next to your Shading layer will be a new box. The white area Pictured is the area the Mask wil affect.
Click on the box next to the Mask box (the blank layer box) to work in it. If you don't, then you'll alter the area the Mask affects. You'll know if you're working on the layer if the symbol under the eye changes from a grey box with a circle to a pen/brush/whatever it is.
⟵ ⟵ ⟵ ⟵ With this enabled, if you draw on the Masked layer, it will only affected the assigned area.
⟵ ⟵ ⟵ ⟵ For example, here I just scribbled on the layer and it only affected the area designated by the Mask.
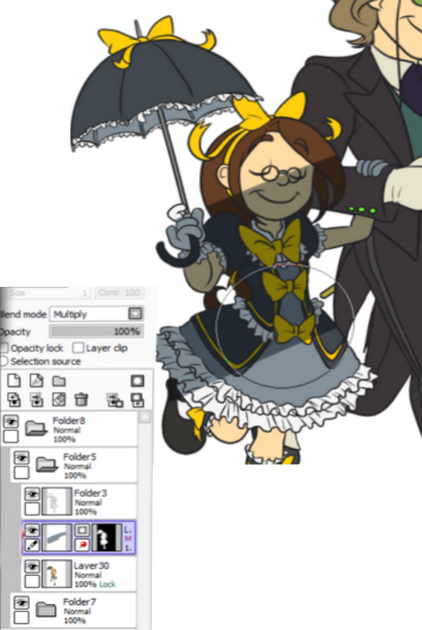
⟵ ⟵ ⟵ ⟵ Also note, this layer is currently multipled. Normally, this would all be one solid colour that covers the layer under it.
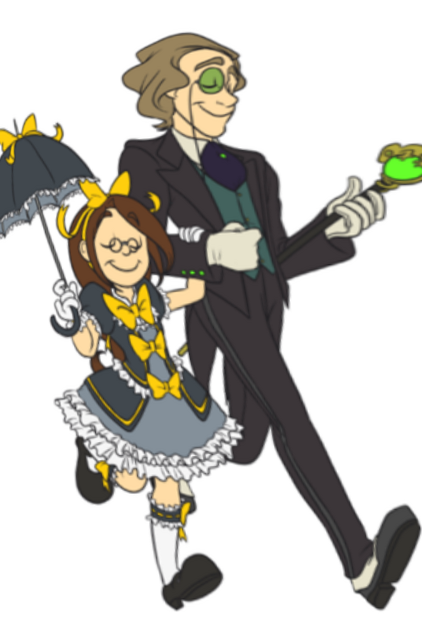
But now that the Mask is all set up, you can so in and shade! There are a few ways you can so about this. ⟶ ⟶ ⟶ ⟶
You could just go in with the Pen tool and colour in all the shadows. This face shadow was just Put in with the Pen tool like such. ⟶ ⟶ ⟶ ⟶

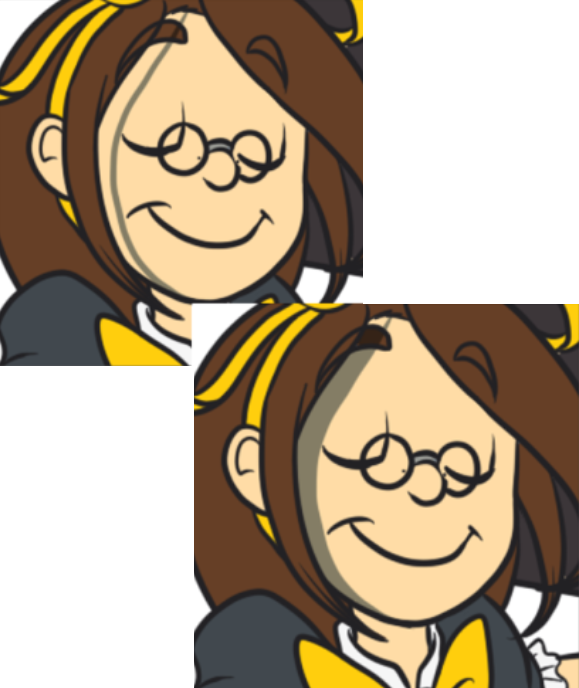
⟵ ⟵ ⟵ ⟵ Or, alternatively, you could draw the shadow and then, assuming you still have the Lineart layer and Fill Bucket set up to the Selection Source, you can fill in the shadow areas.
I Personally tend to use a combination of both, though.
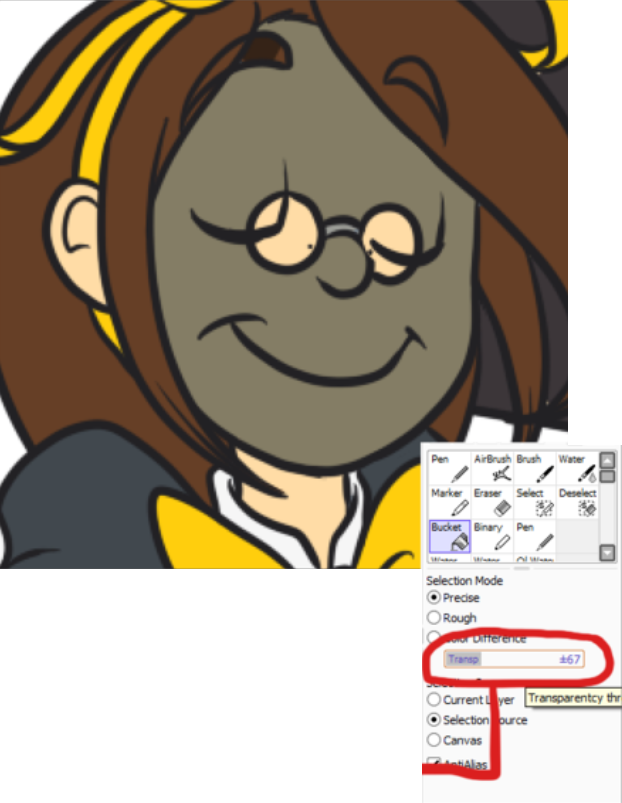
However, with the Fill Bucket method, you may have the problem Pictured here. The Fill Bucket ignores your line and fills in areas you don’t want filled in.
This can be fixed with messing with the Fill Bucket's threshold level or by making sure the shadow line your drew is really connected. Usually, I don't even mess with that and just 20 and colour in the areas, but Play around and see what works for you. ⟶ ⟶ ⟶ ⟶
But with that in mind, you can just so about shading the rest of your Picture!
Hopefuly, this helps make shading your Pictures much easier and faster. As (said before, you can do other things with masks - such as patterns in small areas and other such things. It's just a matter of experimentation!