Shading Methods
*** Part 2 ***
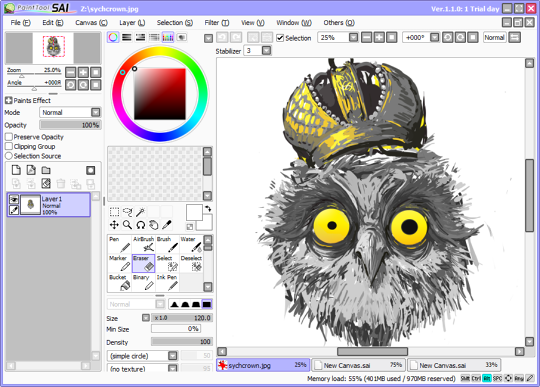
METHOD 2: SOFT SHADING WITH THE WATER TOOL
Now, this next method is relatively simple. We'll be utilizing the Water tool, found in the upper right corner of SAI’s toolbox.
This method is an easy way to a softer style of shading without having to use the Brush tool or something similar. ⟶ ⟶ ⟶ ⟶
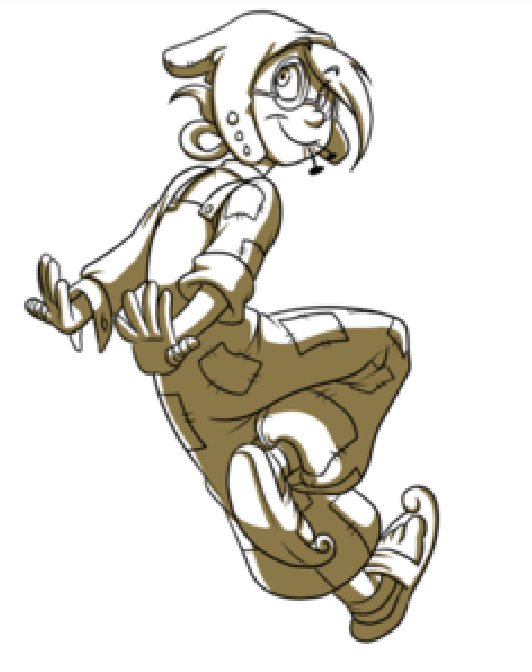
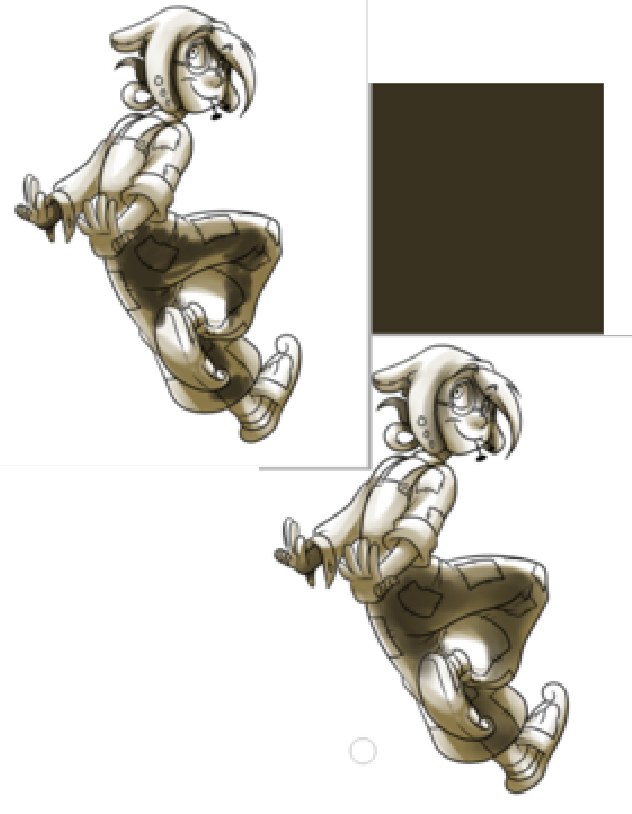
To start of, make a shadow layer, similiar to the one made for cell-shading. ⟶ ⟶ ⟶ ⟶
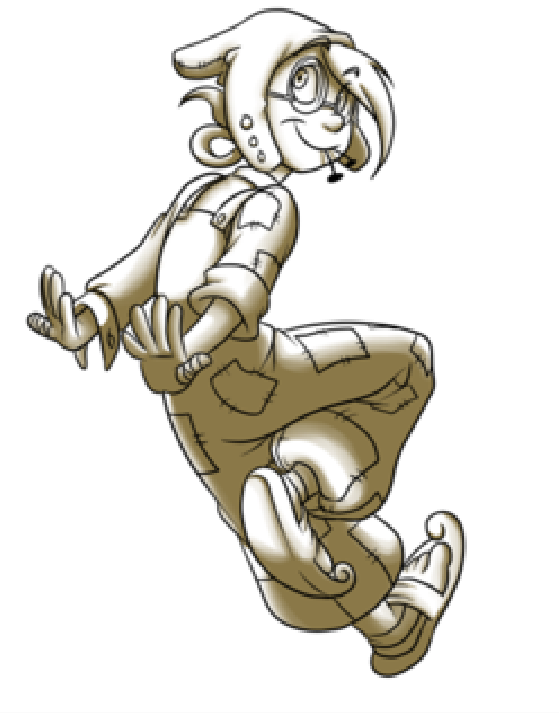
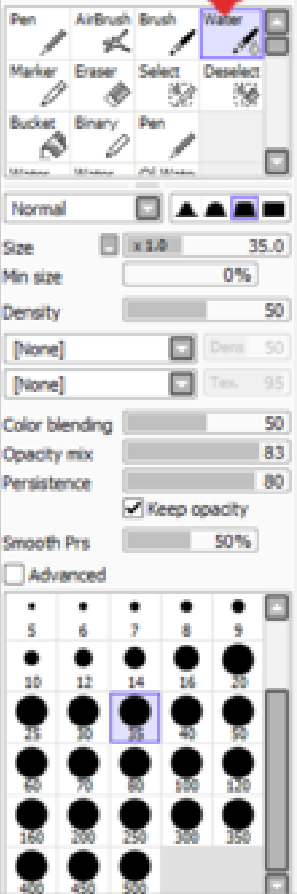
⟵ ⟵ ⟵ ⟵ Now, take the Wafer tool and brush alone the edges of the shadows. This will blur these edges and give you a nice gradient effect, as seen here. As said, it gives a very nice, soft look to your shadows.
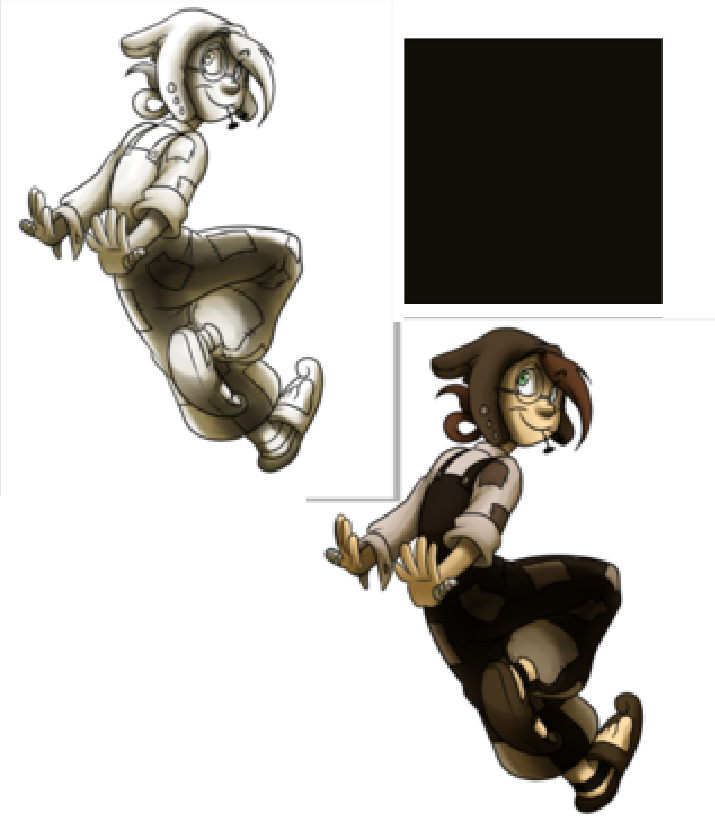
After that, all you have to do is Multiply the layer. ⟶ ⟶ ⟶ ⟶

And ta-da! Quick and simple soft shading. You can. of course (as you can with cell-shading) layer on fop of this if you want to make certain areas darker.
Method 3: Soft Shading with the Brush Tool
Now, the third and final method I'll cover here is soft shading using the Brush tool. Like the other two, this uses a shadow mask and the Multiple Blend Mode.
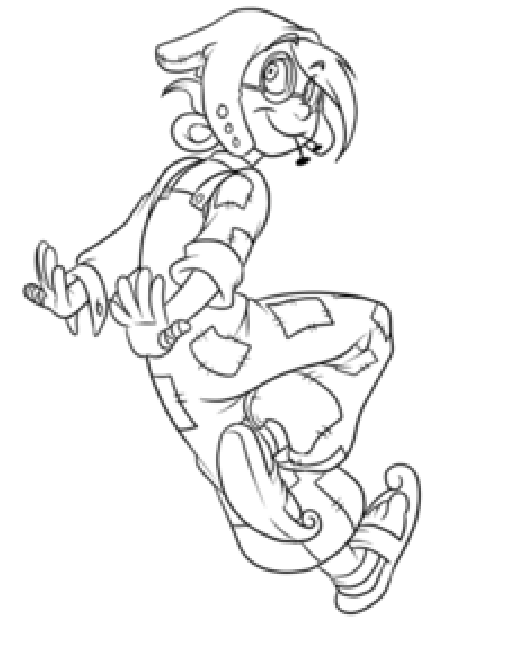
⟵ ⟵ ⟵ ⟵ First thing to do is to make a Shadow Mask and use the Fill Bucket (make sure it's turned to Current Layer and not Selection Source) and till this layer with white. The Brush tool works better on an already established colour and when Multiplied, white doesn't show up.
Just to clarify now (better late than never) the other methods above just had the colour layers turned off to show what the shadow layers looked like alone. They don't have this white base, though the other soft shading method will work with it, too.
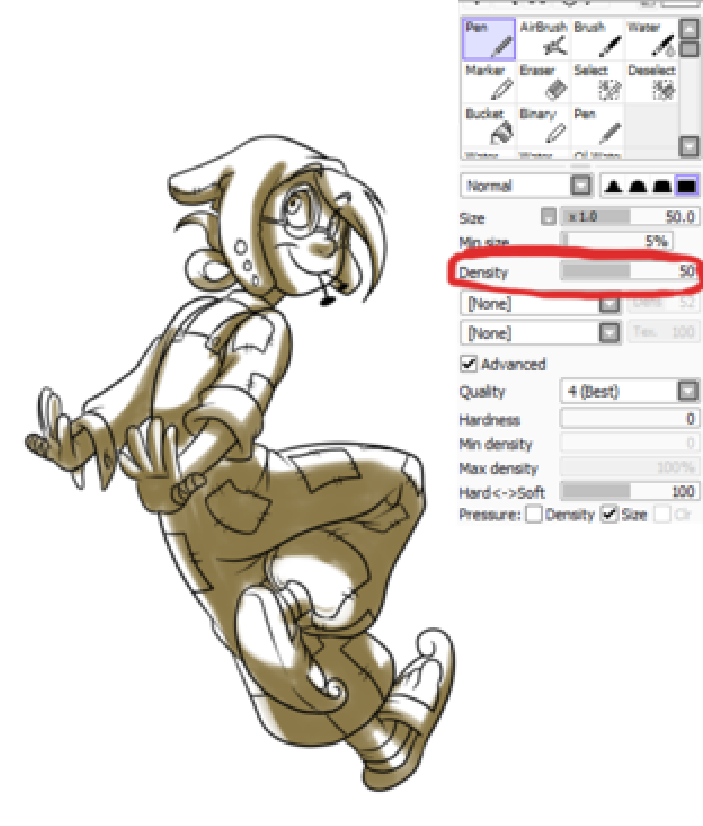
⟵ ⟵ ⟵ ⟵ Once you have that set up, take the Pen tool - I usually lower it to about 50% Density for this step. With this, paint/draw/slap on some rough shadows. These do not have to be precise.
Switch to the Brush tool. I usually have the colour swatches set to white and the shadow colour.
⟵ ⟵ ⟵ ⟵Here, you just blend the edges, like with the Water tool. You can multiply to check how it will look.
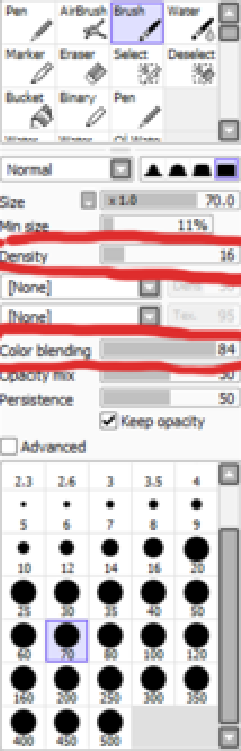
⟵ ⟵ ⟵ ⟵When it comes to settings for the Brush, there's only two things that really matter: Density and Colour blending. Density controls how strong the brush is and Colour blending controls… Well how much the colours blend. A higher Density effects how fast the colours will blend. You can start with a level of 50 for both of them to begin with, but I alter these numbers CONSTANTLY while working. Again - do what you feel is right and just adjust accordingly.
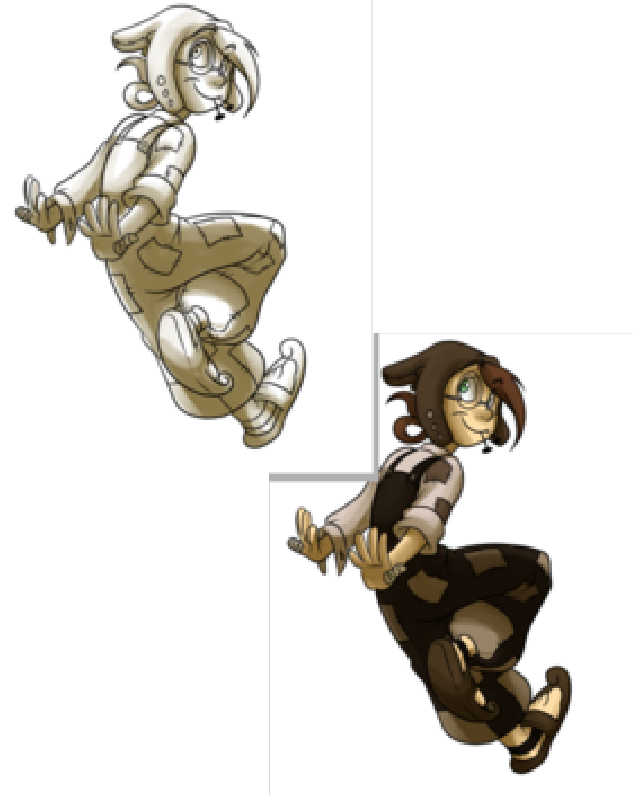
⟵ ⟵ ⟵ ⟵ Now, you can stop with one colour if you'd like. However, when I do this method. I feel the contrast of the shadows isn’t as strong as I'd like it.
Sometimes, as show with these two swatches here. I'll do at least two more colours over top of the first shadow colour. This will help with strengthening the contrast.
⟵ ⟵ ⟵ ⟵ For areas where you have shadows where you don't want them, that's what the white's for. If you turn up the Density and lower the Colour blending, you can go in and "erase" the shadows, tightening up the lighted areas.
And that's all I have for you today' Man, that's wordy as crap, hahaha.
Anyway, I hope this helps with shading for you guys - at least in SAI. As I said in the beginning, these are only a handful of methods you can try and these are just the ones that work out pretty well for me. Experiment as you'd like, but just have fun with it.
Someone had asked me earlier for a proper lighting tutorial, so I think I'll look info doing that one next. If you have any questions or suggestions, feel free to say so and I'll see if I can help you out!
Please check out some of my other tutorials' Links are provide in the description below.