Inkin & Coloring
Inkin - Part 1
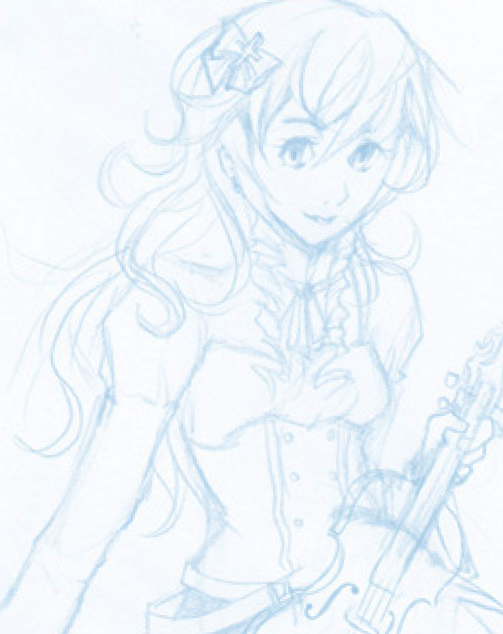
THE SKETCH
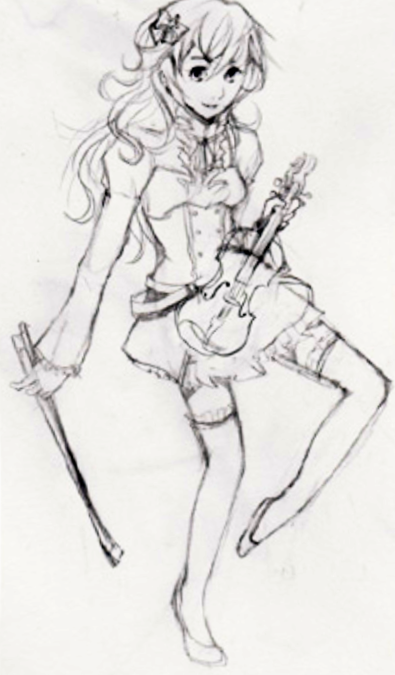
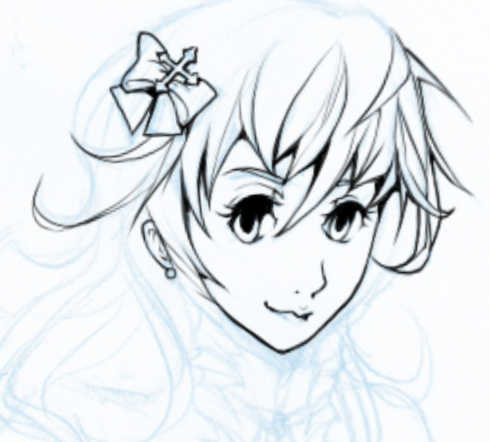
Your means of drawing the sketch is entirely based upon your preference. For this picture of my OC Adella, I used a regular mechanical pencil on sketchbook paper and scanned it in.
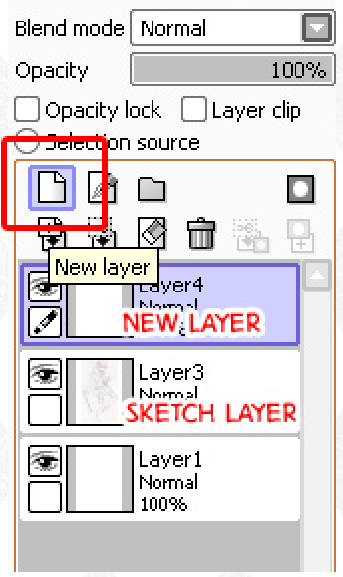
Paste your sketch onto the blank canvas.
Before inking the sketch, I like to lighten the color of the sketch so that it's easier to see the line art when I'm inking.
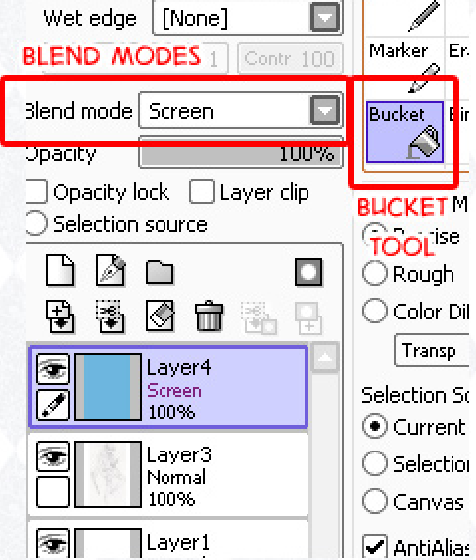
To lighten the color, start by creating a new layer. You can keep track of your layers on the left-hand side of the screen.
You may rename your layers as you desire, I just choose not to because I'm lazy.
Fill in that new layer with a light color, such as this LIGHT BLUE.
Set the blend mode to "Screen" using the drop down menu on the right.
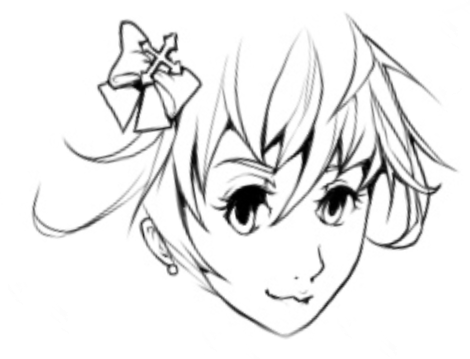
Now your sketch will be a lot lighter and much easier to work with when inking!
If you decide to make the sketch directly on the canvas, you do not need to follow the above steps. Instead, simply sketch using the pen tool with a light color, much like that LIGHT BLUE.
INKING
To start, create a new layer for the lineart. But first, let's talk about the pen tool.
For inking, use the pen tool. This tool gives you sharp, crisp, smooth lines.
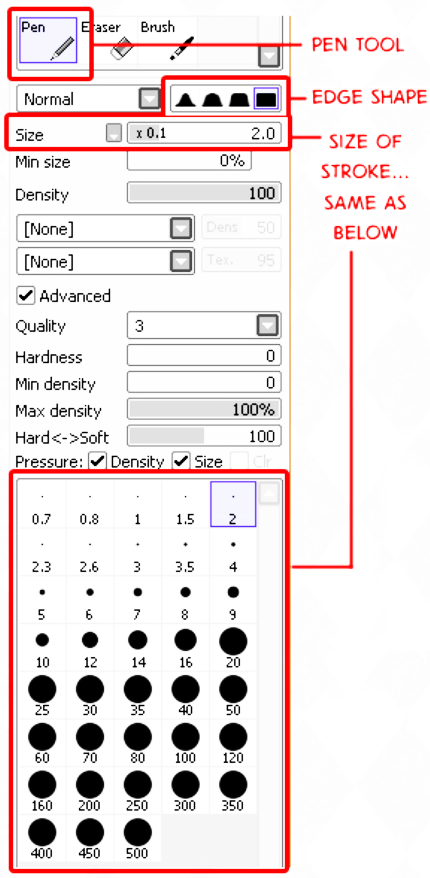
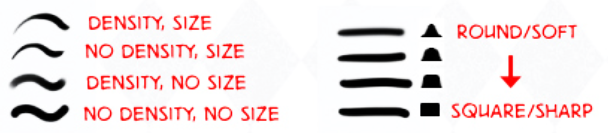
What I love about SAI is that there are tons of possibilities for adjusting the pen tool. If you want softer lines, you may change the edge shape. You can change the density, the hardness, and adjust pressure sensitivity (if you're using a tablet, which I am). Just to give you some ideas...
Now your sketch will be a lot lighter and much easier to work with when inking!
In the end. It's really your preference. You should base these preferences on what's easier for you, but it's always fun to experiment with new options.
Experiment, play around with the settings, and find what's best for you!
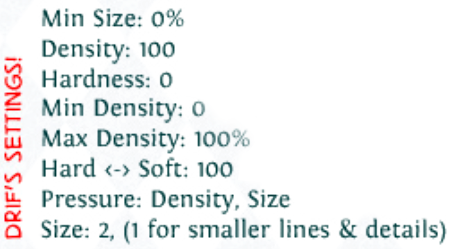
As for me, I use the pen tool with the settings shown on the left.
For neater lines, ZOOM IN PLENTY. Be sure to connect your lines and make them thicker where there would be shadows. Use thinner lines for very small details, such as small strands of hair.
If you ever need to see your line art as it is, click on the eye icon to the left of the sketch later. That will hide the layer until you click the same spot where that eye icon was.
Pay attention to detail, because detail really adds to the quality of the drawing. Unless, of course, you're going for a simple style.

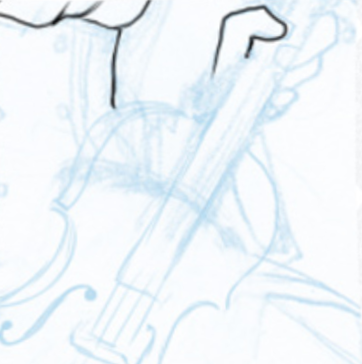
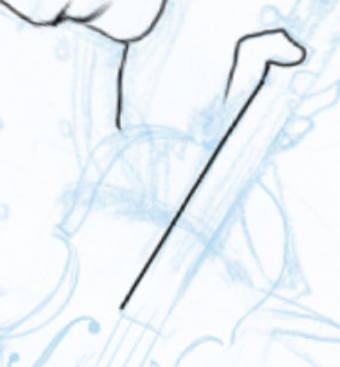
I admit, I'm terrible at drawing straight lines. Here's a shortcut you might find useful.
1. First, with the pen tool, click on the starting point.
2. Hold the shift key on the keyboard.
3. Click where you'd like the line to end.
This trick works in other programs too, like Photoshop.
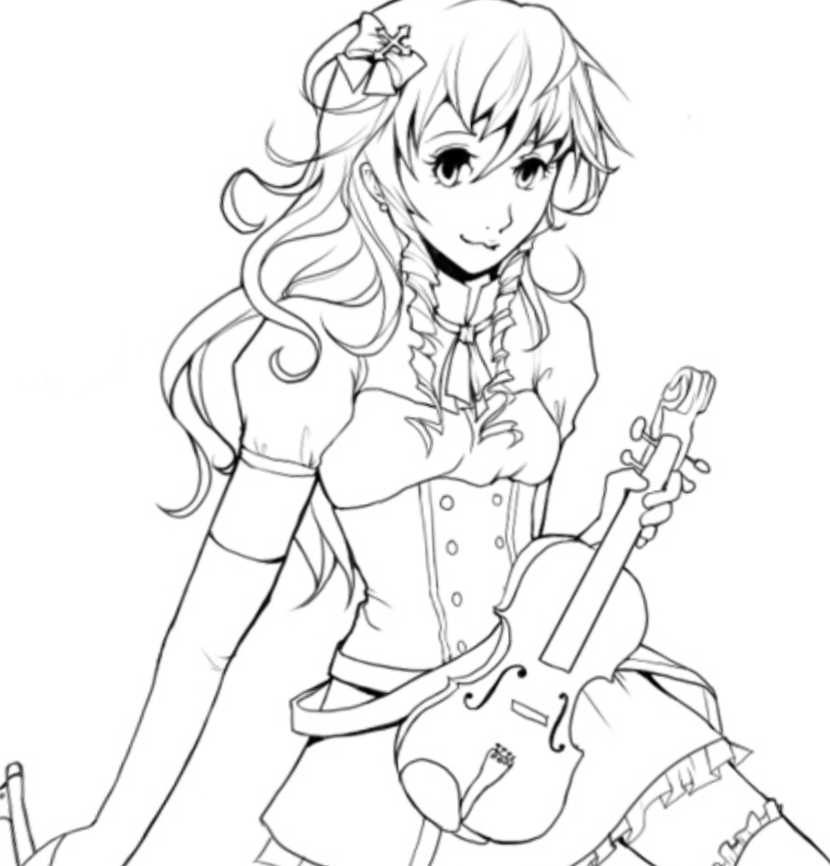
DON'T use super straight lines when dealing with humans, unless it's intentional. Humans have natural curves and it doesn't look right when an arm or a leg is freakishly straight. Same goes for drapery and clothing. I used a straight line on the violin because it’s manmade and it's supposed to be that straight.