Inking & Coloring
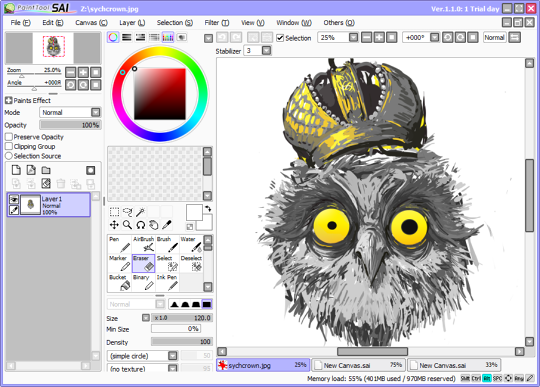
Coloring - Part 2 (Base Colors)
First we're going to lay out the flat colors. It's better to work with light colors on the bottom layers and work up because when you work on a white background, lighter colors are more likely to bleed through the lines without you noticing. I'm going to start with the skin color.
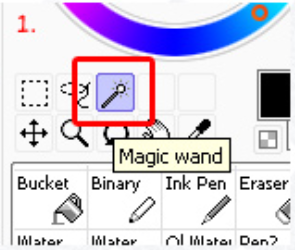
1. Select the magic wand tool.
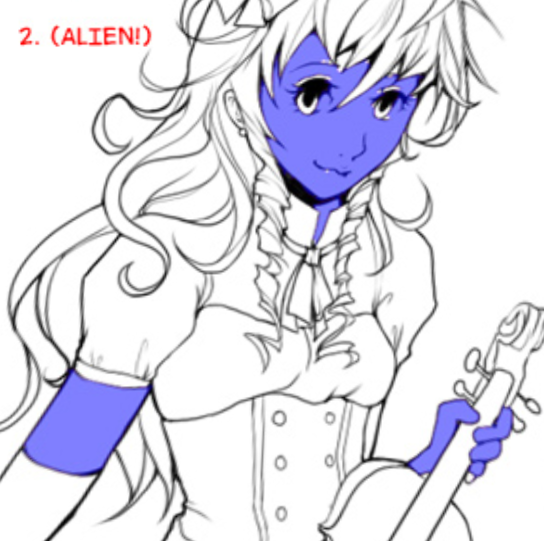
2. While staying on the line art layer, click in any area where there will be skin color. You should get a purple-blue color to show which areas you've selected. Don’t worry if you miss anything (like an ear or a small finger) because you'll be able to go back with the pen tool and fill those in.
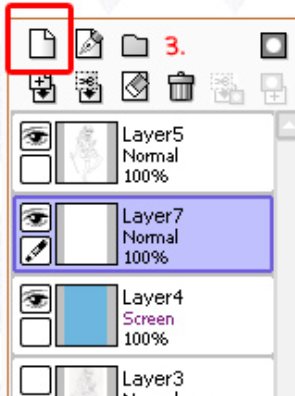

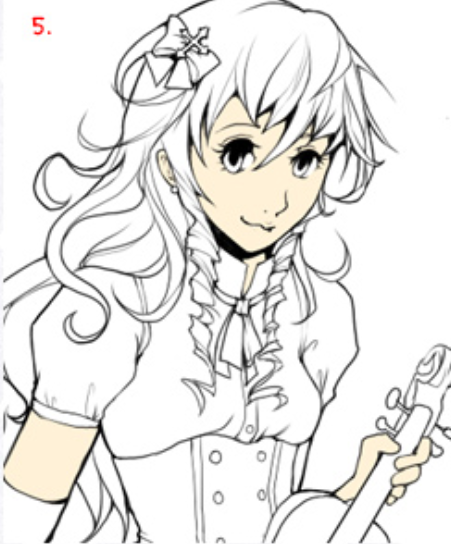
3. Create a new layer under your line art later.
4. Select the bucket tool. The selection should now be indicated by moving dotted lines.
5. Use the bucket tool to fill in your color. Deselect (Selection ⟶ Deselect or CTL + D) and use the pen tool to fill in anything you missed.
6. Repeat this process with each different color. Make sure to give each color its own layer.
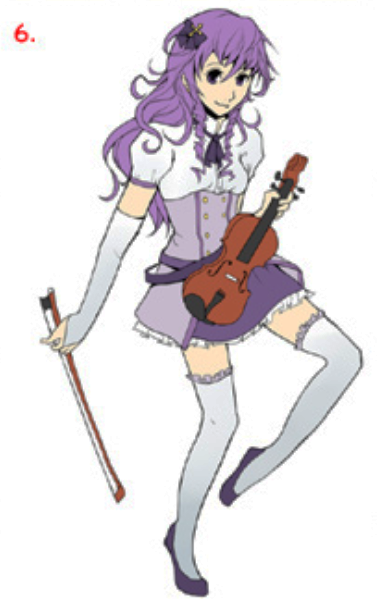
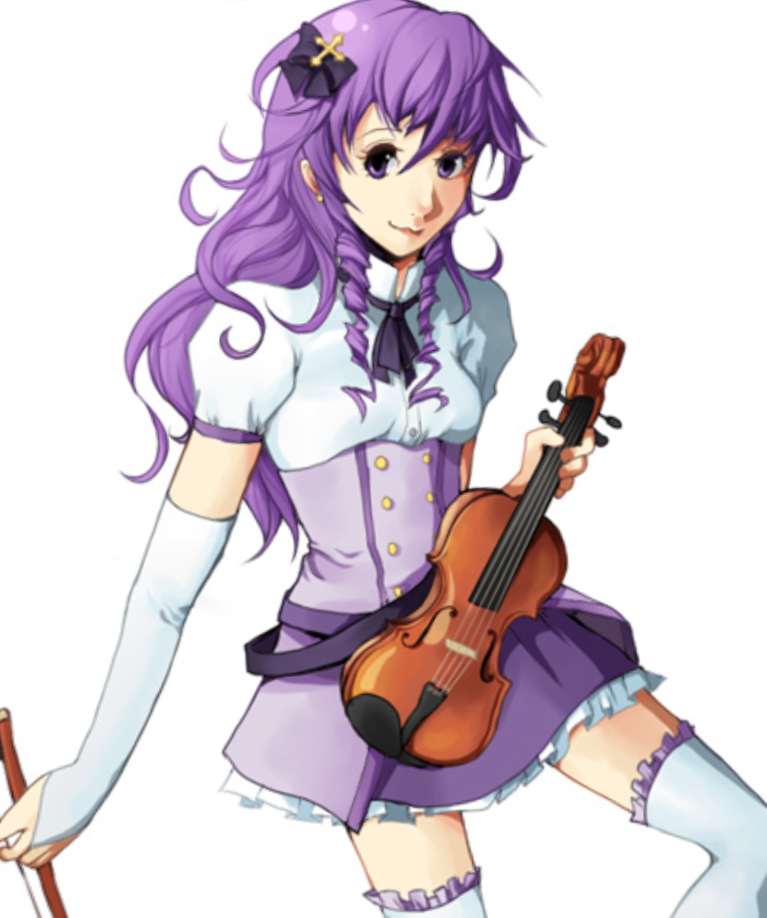
Once you have your color scheme all set, it's time to start shading!
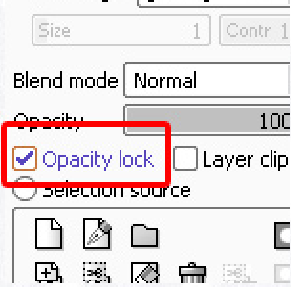
ALWAYS lock your layers before shading. Check "Opacity Lock" on the left side. Pick a light source, and start shading with the pen tool.

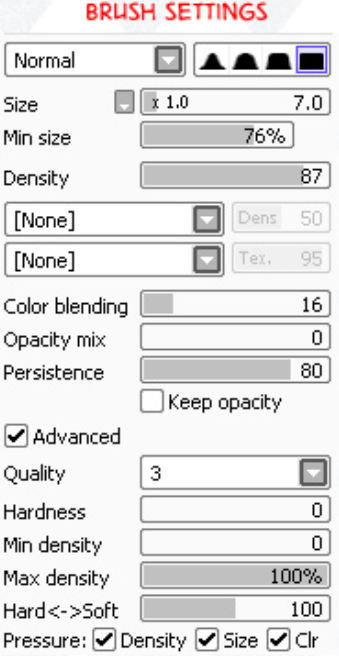
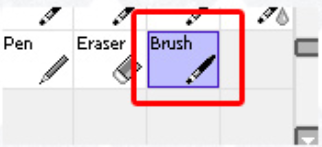
Continue adding darker values with the brush tool. More values make it look more realistic.

I make it soft cell shading with the brush tool. The brush tool is very helpful with blending colors together and making everything look smooth.
And this is where my weird hybrid style comes in. But remember, the way you shade is all your preference. This tutorial is here for your reference, not for you to copy exactly. Remember, originality and personal style is what makes your art your own. Never settle for copying someone else's style completely. It's okay to be influenced, but when you're totally duplicating another's style... there's no fulfilment in that. Just don't do it.
If you want to use cell-shading, ignore the above steps and continue on with these. If you want to use soft-shading, ignore the steps below.

Create a new layer above all the base color layers and below the line art layer.
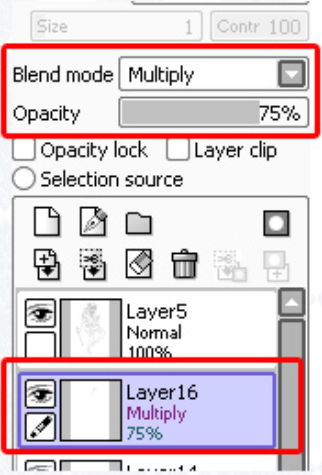
Set the blend mode to multiply and adjust the opacity to your preference.
With the pen tool, add even more darker values with a darker color.
Just to break it down, here are all of the colors I used for the skin.
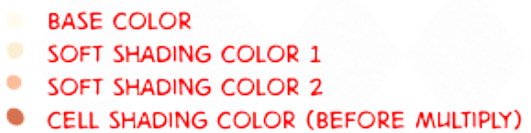
I'm not going to explain color theory and such, but I will emphasize using a variety of values. Values are what make a picture pop out much more. Use lots of lights and darks!
Continue the process with each color.
For final touches, I color my line art by locking the layer's opacity and filling the lines in with color.
That pretty much concludes this tutorial! I hope this was useful to you. If you have any questions, feel free to note me and I will do the best I can to answer them.
Good luck drawing and finding your own style!