Ways of Coloring
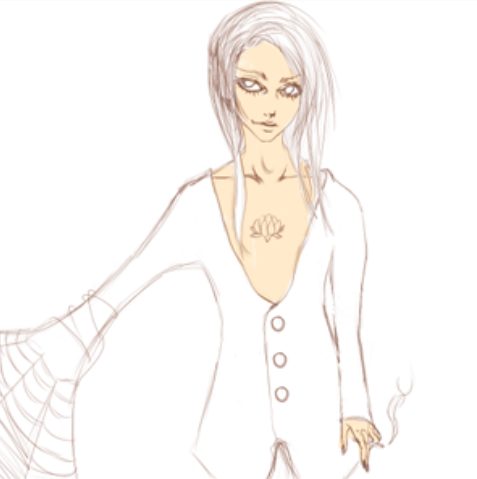
First off, make sure that your sketch/linework has been completed.
I use many sizes for my canvas, so it really doesn't matter (I crop it down depending on how much space is leftover anyway) - and I use 300 dpi for the resolution Refer to the bottom of this for reference on the tools I use when coloring.
For layers, I always use: normal for coloring multiply for drawing Lumi & Shade for highlighting
Before you start, have an idea of the color scheme you would like to use. Mainly the base colors ~ the shading can go any way from there on.
1. Start by adding in the skins base color - This can be anything depending on the skin tone you are aiming for.
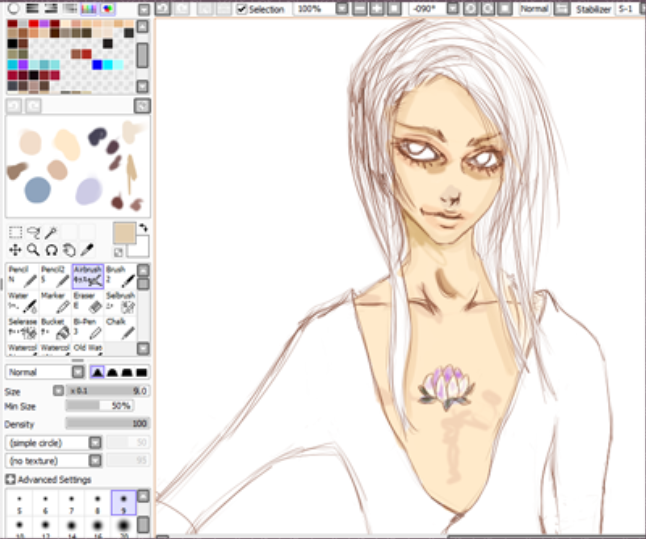
2. Add desired shade that you would like to use. Add on top of the skin base (in the same layer). For shading, you can try lighter or darker variations of the base color, or choose a color from the other side of the color wheel if you like.
Blue for instance!!
3. Blend each shade you have added to the base. While doing so - you can also fix up things you do not like. Add extra colors, you don't have to stick with the ones you added. Mix more and more until you like it.
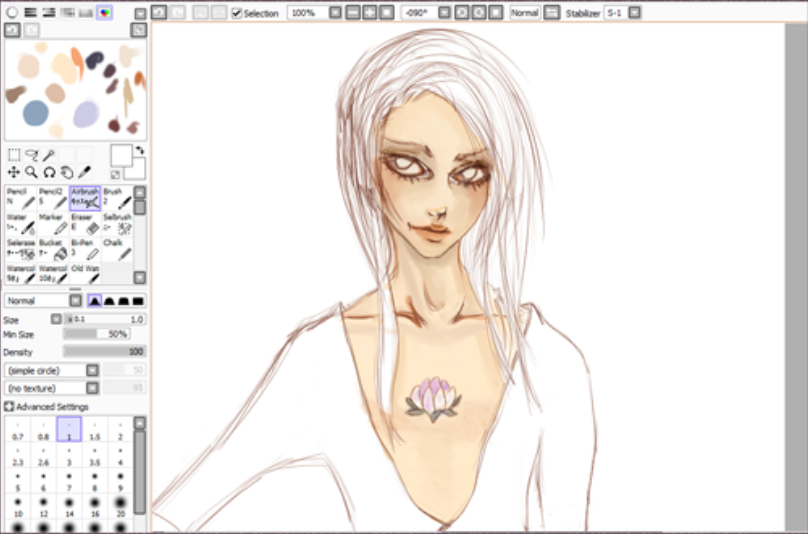
4. Add the base color to everything else. This means the hair, eyes, clothing, accessories. I usually cheat at this point (hah). By that I mean going ahead a step. Just make sure that you have the base Don't add random colors in without it Do you know how long that will take????
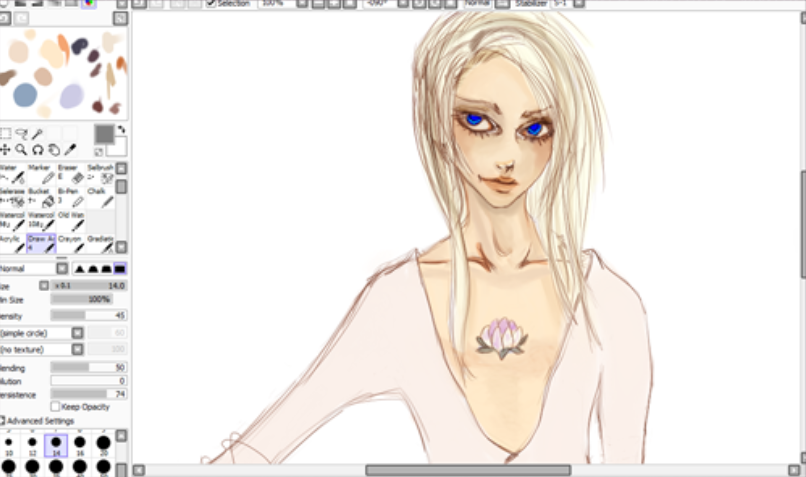
5. Begin to work on the hair Try to get it in a 3-4 minimum of steps for this By that I mean blending, adding strands, et cetera Choose many colors, then blend them so they mix together Each time you add colors, go down two brush sizes Then add random individual strands with a very small brush Try the pencil or airbrush For the blending use the marker tool unless you have it named something else....
6 & 7. Blend or shade whatever else you see. Look at what you've done so far and pay attention to see if you need/want to add, change, or take out anything If you want to add jewelry, a clothing pattern, etc, do so now!
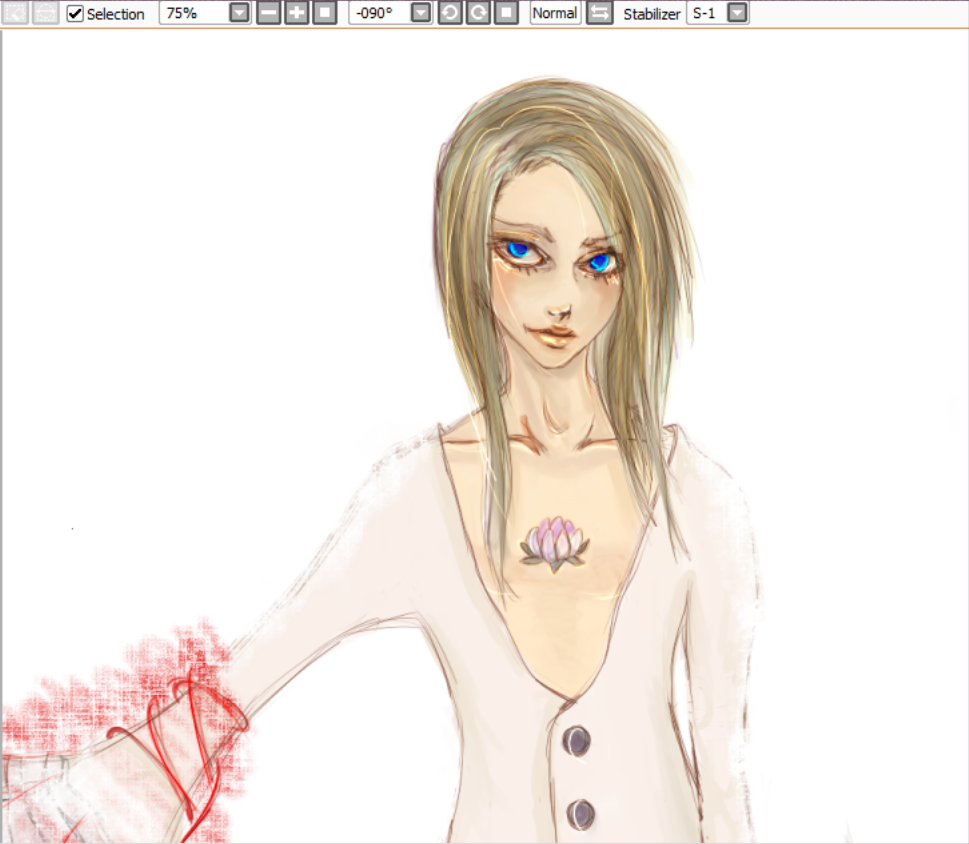
8. Finally the Highlighting!
I always use the lumi & shade mode for this-so make a new layer for this step
When highlighting you can adjust the density if it's too much for you.
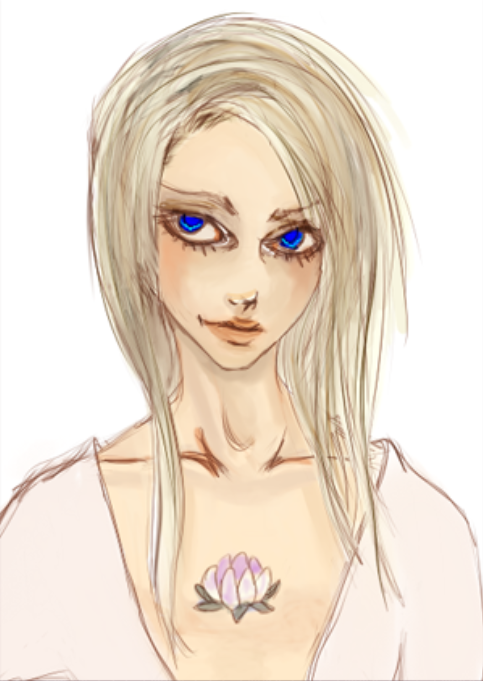
Make sure to use the same color that you will be highlighting for instance, if you are highlighting a certain area on the skin, use the same color from that part! If it's hair, then use the hair color.
BUT if the color is very very dark, then you will need to choose a color that is close to it.
Even a random choice in color will do just fine.
That pretty much sums up this tutorial. If your end result is too dark, then freely adjust the "Brightness & Contrast" - Just don't take it very far ~ the highlighting will look horrible. I do ALL of my coloring in a single layer. Nothing more!!! EVER -
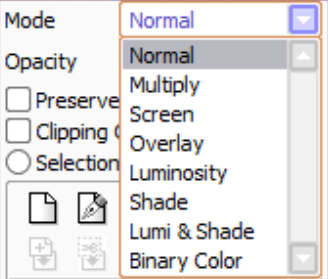
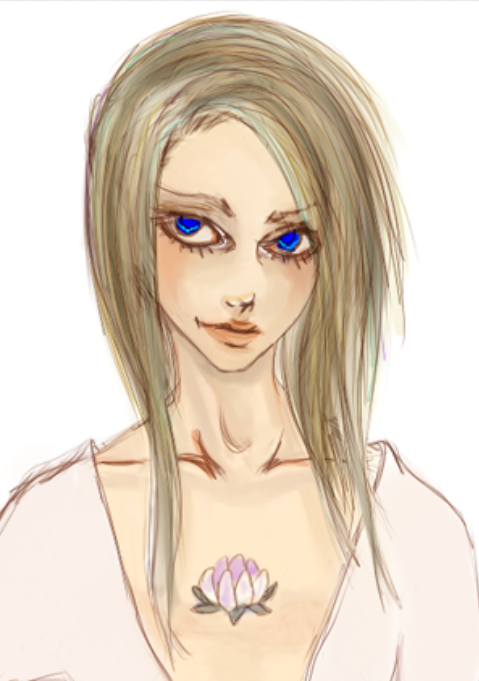
-Multiply mode for all drawings. I sketch everything in black, then later change the sketch to a brown color (doesn't matter as long as it isn't too dark or too light) I do this because it can easily be blended in with the process; if there are very messy parts in the sketch - they are fixed up along the way (I tend to change the sketch a lot, that is why I do not do the linework neatly afterward) + I like the way it looks.
-Lumi & Shade for all highlighting work.
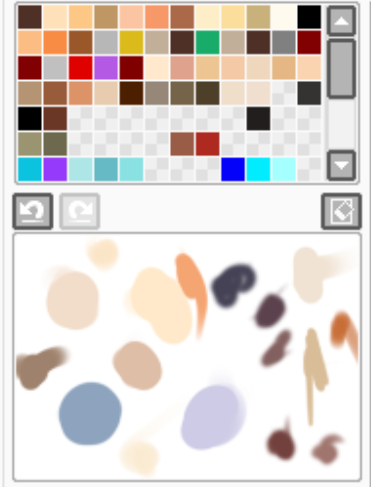
The Swatch area is VERYYYY handy for me. You should use this often if you like the way certain things come out when choosing a specific color.
The Scratch Pad is just as handy. Sometimes I mix colors and end up with another that is completely useful so I put it here.
Plus you can erase and undo it afterward if you do not like it. A good thing is that it stays after you close out!
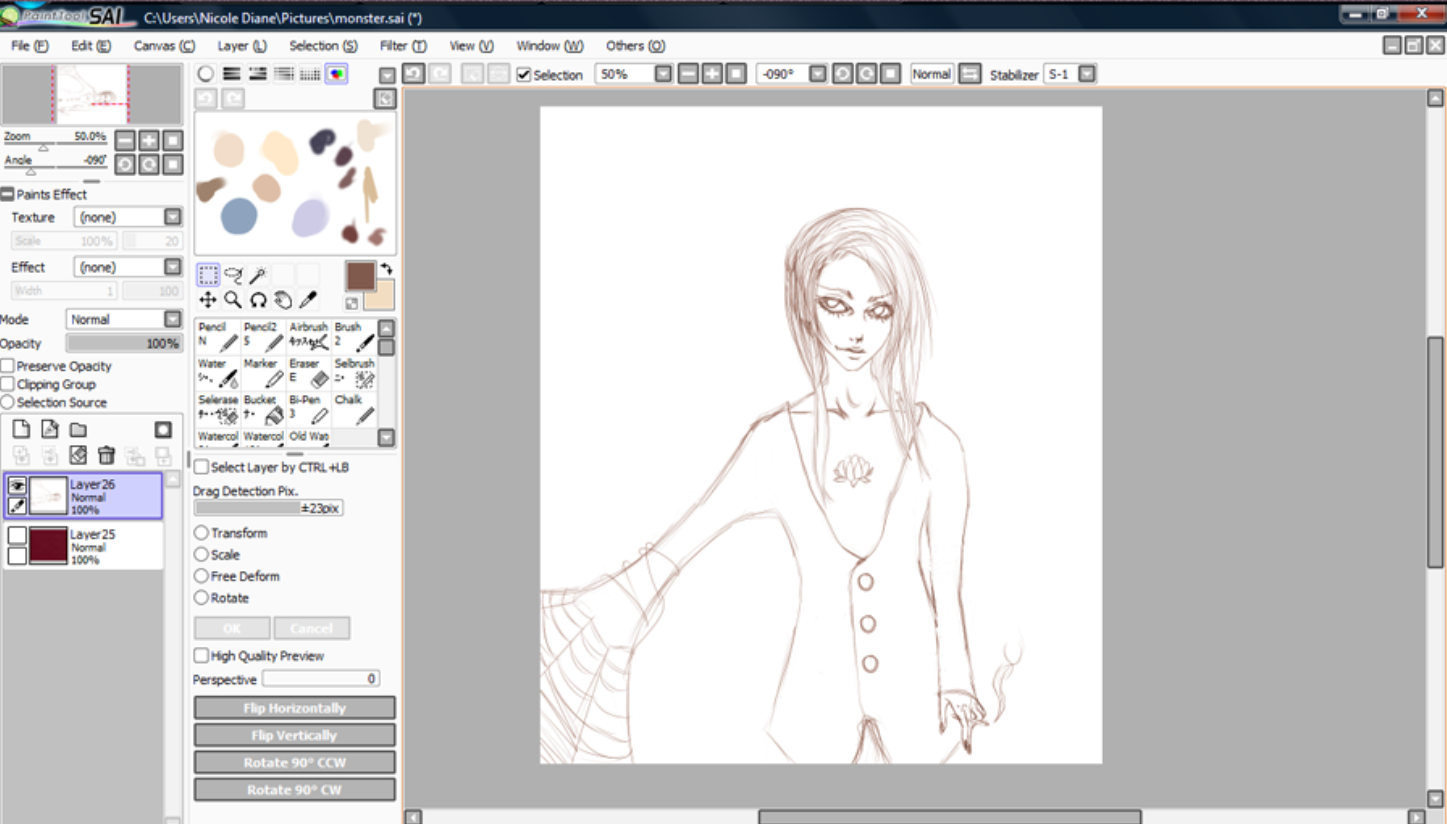
When I first started with SAI, I always used the Linework layer rather than the reg. layer. Believe me; the regular is much better if you do not want to use the Pen Tool.
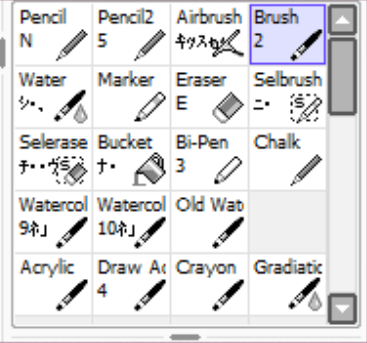
Sketching - I will either use one of the Pencil tools or the Brush Tool.
Coloring - I use the Airbrush, Brush, Watercolor, Marker, and Drawing Acrylic Tool(s) Highlighting - Pencil or Airbrush tool will do just fine!
Backgrounds - I don't like doing anything specific for backgrounds so I will either leave it blank (white), or make my own pattern.Texturescomein handy as well! Recently I have found two useful websites that have SAI textures specifically.