Shading hair, Shading eyes
*** Part 2 ***
Well hey there Nice to see you again. Or for the first time, if you're skipping around This is the continuation of my previous SAI tutorial, where I introduced you to some useful features the program offers, gave some tips on the execution of lineart, and covered the shading technique that I use when coloring the skin and clothing. This time we'll be looking at the manner in which I shade the hair and eyes, which, in my opinion, are the most fun parts of the picture. Now, this "talking" thing is riveting and all, but how about we actually get started?!
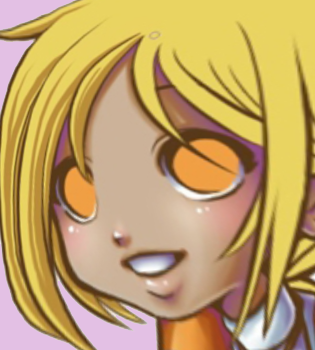
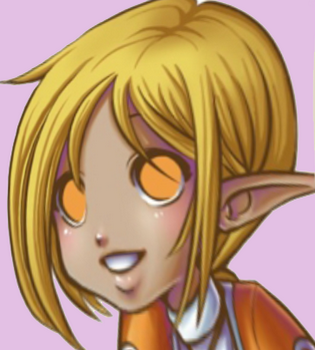
⟵ ⟵ ⟵ ⟵ This is the picture I'd finished with at the end of the first part of the tutorial. As you can see, it's fully shaded save for the hair and the eyes.
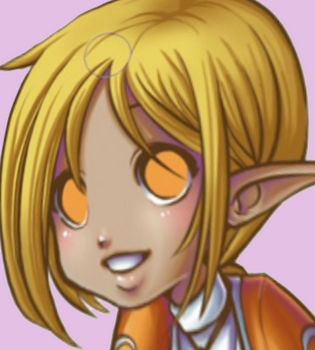
I go about the hair a bit differently from the rest. I start with cel-shading, just like before.
Using the same color. I airbrush some parts to add depth.
Back to cel-shading with the pen tool, but with a darker color this time.
Airbrush again, but more gentle this time so I don't lose too much sharpness from the defined strands.

Purple again! Haha, I just love shading with purple. I've used purple throughout the entire picture, doing this will give the finished work a kind of harmony.

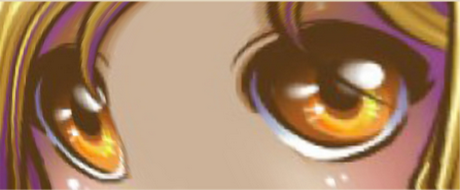
Now I start with the highlighting. I take a lighter color and go back and forth in wonky V shapes.
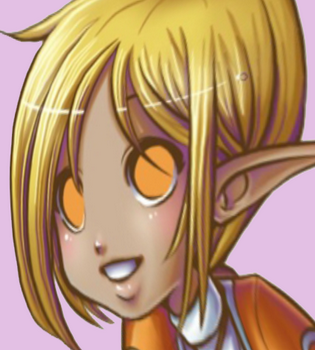
Then I airbrush that same color lightly over it and go back and do the same V shape thing with white. To finish the hair, I take a sharp white line horizontally over it where the highlights are. That’s it for the hair.
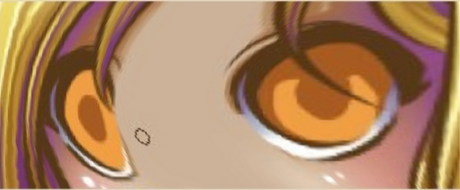
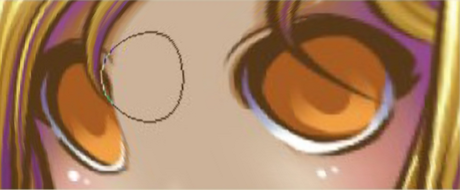
Eyes time! I used to always do eyes a different way with every picture, but now I've settled into a style that I'm happy with. I begin with an oval where the pupil is and shade over the top for the shadow from the eyelid/eyelashes.
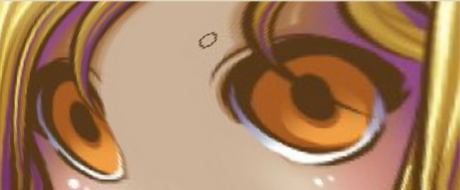
Airbrush with the same color like I've done before.
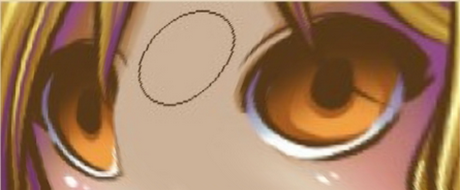
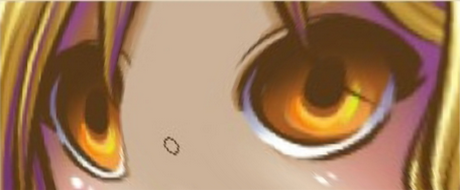
I just about cover up the oval with another oval, this one's the same color as my lineart because... well... I felt like it.
For the actual shading, it starts out cel-shaded. I go through shading all of the skin with the pen tool in with a single color. I'm working directly on the base color layer with the opacity locked; this way there's no erasing to do after. Kind of bland, huh? I'm not a big fan of cel-shading, even with chibis.
..so next l take the brush tool and begin to stroke at the edges of the shadows I go back and forth until it's as smooth as I want it to be. Don't forget about those invert and rotate tools! Awkward angles become as natural as any other with these tools, so make use of them. Here I've finished smoothing all the shading. Next I'm going to start deepening the shadows and giving the skin some depth.
Instead of cel-shading and smoothing like I did before, I get right in there with the brush tool and save myself a step. It can get kind of hard-edged of its own will, so I'm constantly blending from all kinds of directions. (And you'll discover in using SAI that when it comes to the brush tool, the direction really does matter!)
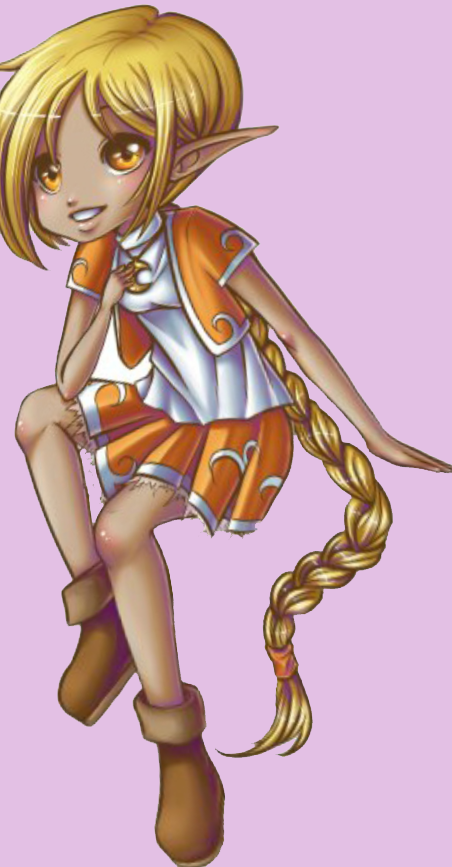
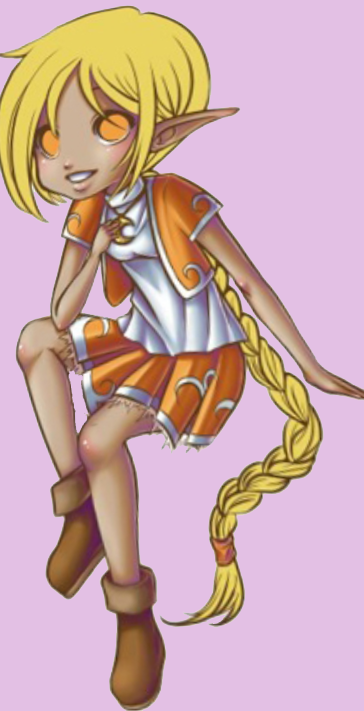
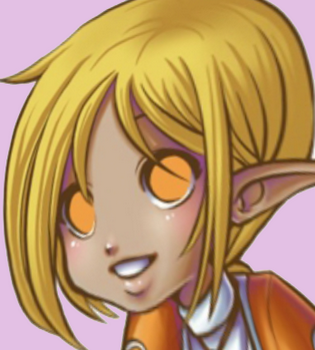
⟵ ⟵ ⟵ ⟵ And this is my finished picture! Isn't she adorable?
This is, of course, just how I do it. SAI is full of all kinds of options, and for the first few hours that I used it, I felt like a child in a candy shop. Like with any medium, the best thing you can do is explore and experiment on your own This tutorial is just a guide to help you get acquainted with SAI's features and capacities. I hope you've found some use for it, and don’t hesitate to drop a comment if there's anything you need clarified. (I know I can be really bad at explaining things!)